Exploiting the iPhone 4, Part 5: Flashing the Filesystem
Reading time: 17 minutes
gala
This series follows along as I build gala, an iOS 4 jailbreak for the iPhone 4.
- Part 1: Gaining Entry
- Part 2: Bypassing the Boot Chain
- Part 3: Patching the Boot Chain
- Part 4: Investigating the Ramdisk
- Part 5: Flashing the Filesystem
- Part 6: Post-boot Paradise
|
|
|
|---|
On with the show...
Table of contents
Switching our approach
The Authentication error string that asr would usually print out after it decides to reject the filesystem is interesting, though. Maybe we can poke further at that to try to find an approachable patch-point?
$ strings mounted_restore_ramdisk/usr/sbin/asr | grep "Authentication error"
# No results
Huh, zero hits! That’s curious, because asr is definitely printing this out… Let’s search the whole ramdisk for this string.
$ grep -arl "Authentication error" mounted_restore_ramdisk
mounted_restore_ramdisk/usr/lib/libSystem.B.dylib
Ah! This is coming from /usr/lib/libSystem.B.dylib, which is dynamically loaded and used by asr. It seems odd that anything to do with verifying a filesystem image would live here, though… Let’s take a closer look.
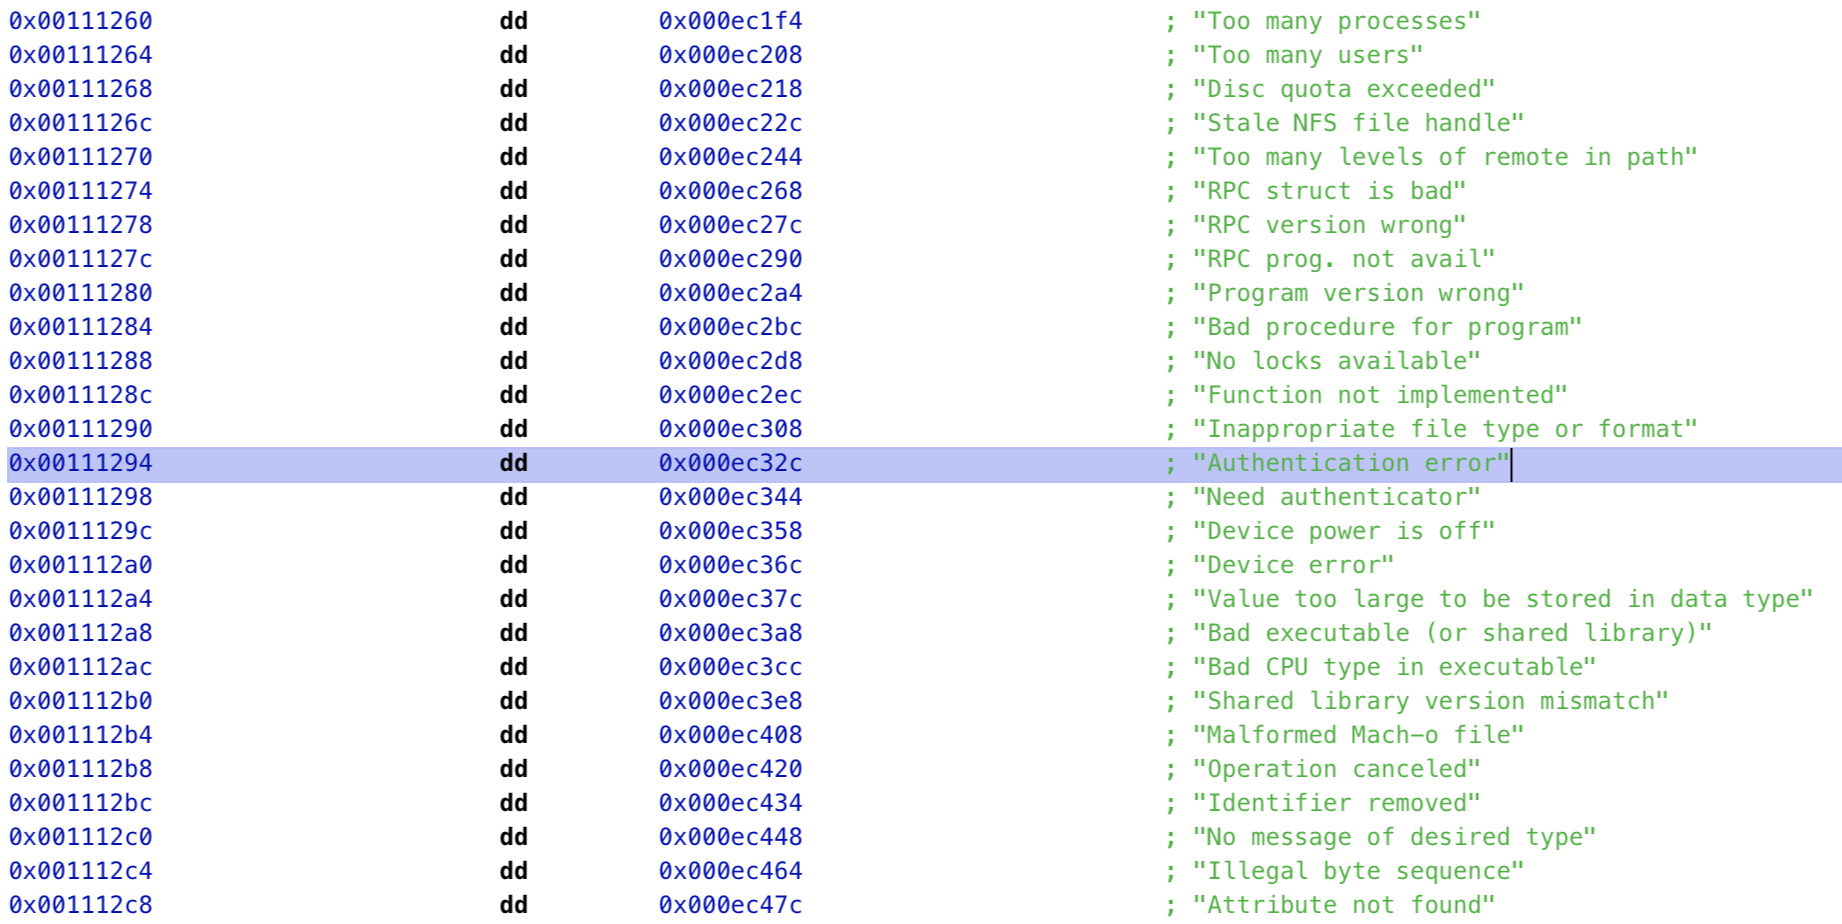
Hmm, one question answered while the original yawns before us. This Authentication error string is just provided within an implementation of strerror(), which converts an error code to a human-readable description. libSystem.B.dylib therefore won’t give us much help tracking down where the error is initially thrown.
What about the Using Hardware AES string that asr also mentions?
$ grep -arl "Using Hardware AES" mounted_restore_ramdisk
mounted_restore_ramdisk/System/Library/PrivateFrameworks/DiskImages.framework/DiskImages
Cool! This comes from within /System/Library/PrivateFrameworks/, which is a bit more of a plausible search radius. Perhaps if we patch some important routines in DiskImages.framework everything will just fall into place?
Nope. I scraped my fingernails across asr for a week. It was excruciating.
This kind of thing is always more fun when you know with certainty that you’ll figure it out in the end, but here I didn’t feel like I had any such guarantee.
Systematic investigation
Decked out in my full detective regalia, I peer under sewer grates and scrapbook loose hairs, searching for any clue on how to get asr to accept the host’s IPSW. Over the course of this, I rely on the time-worn tradition of getting as close as possible to something that works, then steadily deviating towards the behavior I actually want. Let’s start by running the original ramdisk that comes from the IPSW, with no modifications whatsoever:



$


It’s always nice to see things moving a bit further along in the restore! The restore eventually fails because the restore process expects a valid IPSW that’s been personalized and signed by Apple. iOS 4 is long unsupported by Apple, and therefore such signing is no longer possible. However, we do get past the critical step of asr deciding that it’s willing to give us the time of day.
I was able to disable the IPSW personalization checks in the kernel, without touching the contents of the ramdisk itself, which allowed the restore to steam through with an unpersonalized IPSW. After the main filesystem image is flashed to NAND, the restore process moves on to other tasks under its purview, such as flashing the new bootchain to NOR. On our first try with this hack, flashing the LLB to NOR fails with an opaque error code. I’m tempted to dive straight into patching around this, but it’s important to eat our vegetables: we’ve only managed to get this far by using the unmodified Restore ramdisk, and we’ll definitely want to make sure that we can flash an OS image from a ramdisk that we fully control before we move on from here.
Showdown
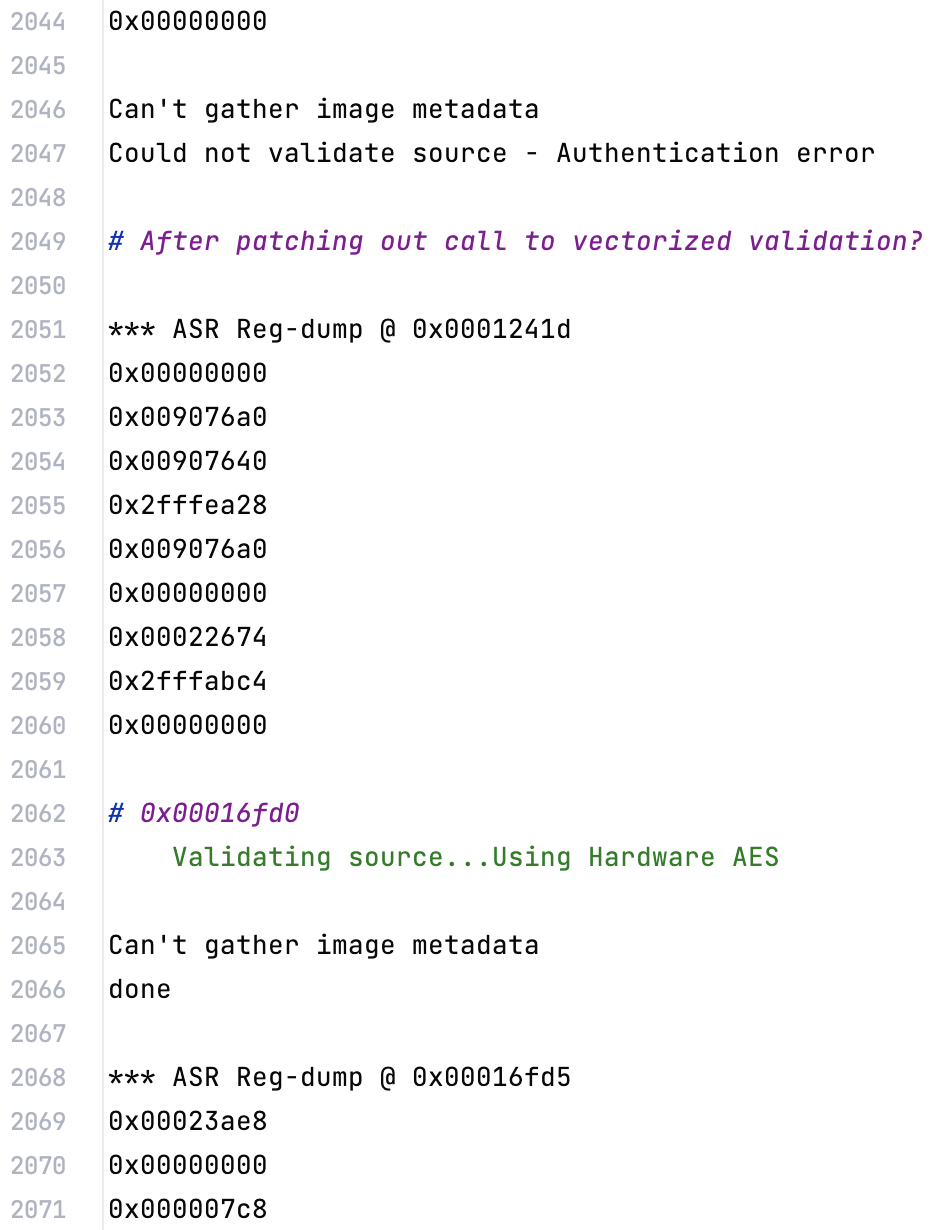
I eventually realize that applying any patches to the ramdisk causes asr to reject the IPSW. I think this might be because asr is comparing the ramdisk loaded on-device to the one that’s stored in the IPSW, but I’m not too sure. In any case, making any patches to anything in the ramdisk causes this critical Validating source... Gathering image metadata... step to fail.
This is a serious problem, as we’ll need to modify this ramdisk to disable code signing mechanisms within binaries it contains.
Tracking this down further, it turns out that if I merely mount the ramdisk .dmg on the host Mac, and make no attempt to modify its contents, asr will refuse to flash the filesystem image! This was quite surprising at the time, but the reason is now clear: mounting a .dmg will modify some metadata bits inside it, and any modification to any bits in the Restore ramdisk will cause asr to throw up. I later confirmed this by surgically editing a single byte and ensuring that asr failed.
While working this out I suffered through thousands of lines of probing notes. This was not a fun week, but this sort of thing is always more enjoyable in hindsight.
Eventually, I have a flash of insight. As we’ve seen, /usr/local/bin/restored_external runs the following command on-device:
/usr/sbin/asr -source asr://localhost:12345 -target /dev/disk0s1 -erase -noprompt --chunkchecksum --puppetstringsThis invocation kicks off all the machinery within asr to communicate with the host and to have it send data from an IPSW stored on the host. But what if we invoke asr directly, rather than letting it be automatically invoked by restored_external, and provide it with a local filesystem path that we manually upload to the device instead?
/usr/sbin/asr -source /mnt2/rootfs.dmg -target /dev/disk0s1 -erase
Success! We can directly invoke asr on-device, and bypass all the host coordination malarkey.
Before we ask asr to do its thing, though, we’ll need a way to get the root filesystem image onto the running device’s filesystem. We can scp the root filesystem image from the host once we boot the kernelcache and Restore ramdisk from the iBEC. Before we can use scp, we’ll need an ssh implementation within the Restore ramdisk! This doesn’t come by default, but people have made handy .tars that drop in all the resources we need to get a remote shell into a Restore ramdisk, such as a dropbear distribution. This .tar will also replace the native /etc/rc.boot to ensure that the SSH daemon is started when the system processes the ramdisk.
I introduced a new type of .dmg patch to apply this .tar to our ramdisk’s filesystem:
restore_ramdisk_patches = DmgPatchSet([
    # ...
    DmgApplyTarPatch(
        tar_path=_RESOURCES / "ssh_additions.tar"
    ),
])
And lo, we have SSH!
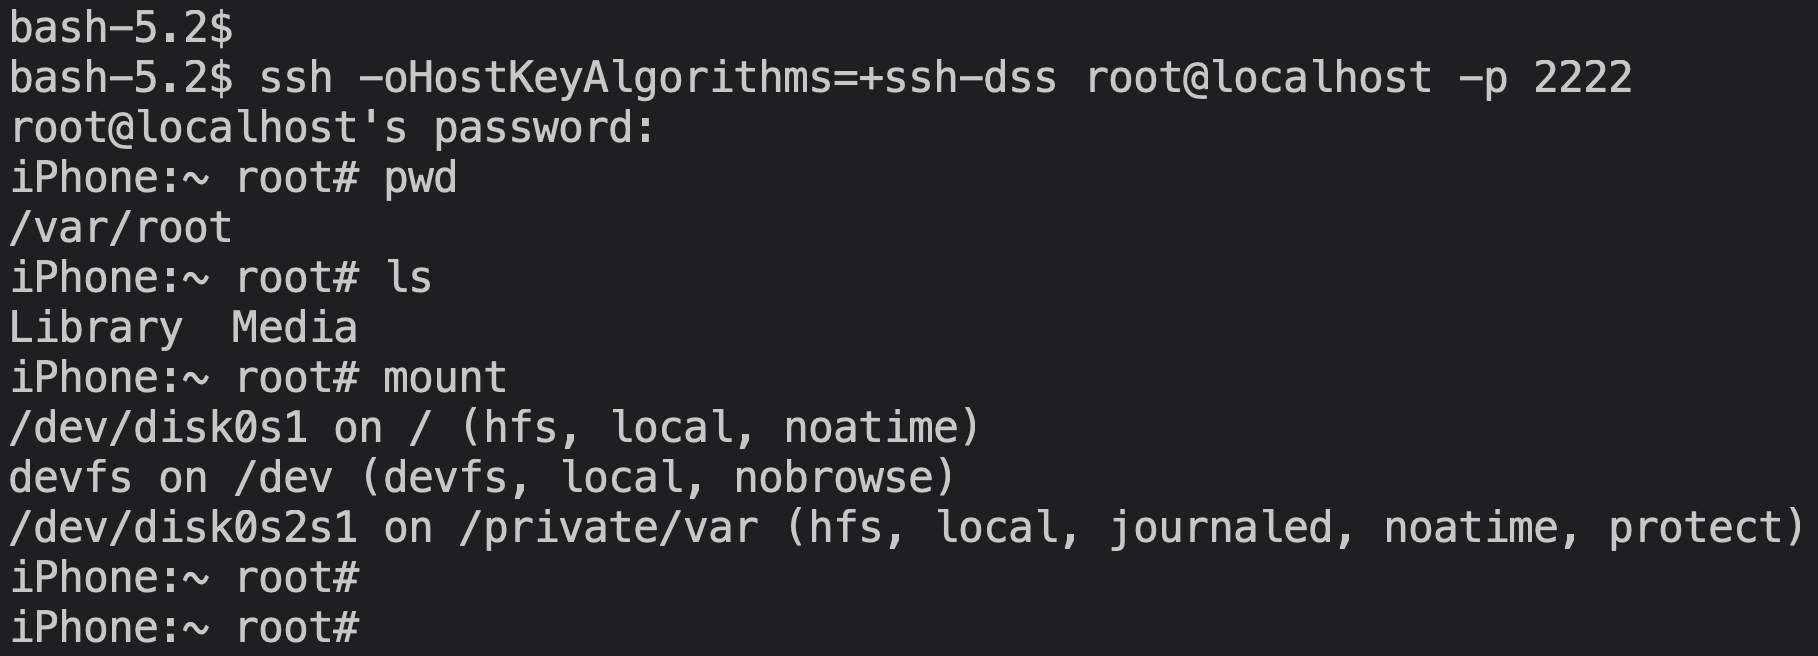
In a somewhat baffling move, the ramdisk ships /sbin/mount to mount a disk partition as a filesystem, but doesn’t ship umount! I suppose the Restore ramdisk has no need to ‘clean up’ a mount point, and can just reboot once it’s all finished interacting with the filesystem.
In any case, the availability of ssh and scp made manipulating the system a lot more tractable than patching the ramdisk and walking the bootchain through SecureROM, iBEC, iBSS, and the kernel each time I wanted to try something a little different. In fact, this created quite a snappy development cycle while testing out asr patches:
- Add an
InstructionPatch. galapatches theasrimage and saves a cached copy.scpthe patchedasrbuild to/usr/sbin/asr.- SSH into the device.
- Rerun
asrwith the new patch, observe the results, and update my notes.

Compared to going through a full DFU-mode boot after each change, this was warp-speed.
Continuing the restore
OK, we’ve coerced asr into flashing the root filesystem image! What’s next for the restore process?
Normally restored_external would continue to do some more work to set up the system, such as rebasing /private/var from the new System partition to the equally new User partition, but I’ve lobotimized it a bit too heavily for that. For now, I’m performing these steps by hand.
The last time we tried running the restore, we encountered the following output:
entering modify_fstab
entering clear_persistent_boot_args
executing /usr/sbin/nvram
entering update_NOR
entering img3_update_NOR
img3_flash_NOR_image: flashing LLB data (length = 0x13984)
IOConnectCallStructMethod(0) failed: 0xe00002e2
It’s clear, once again, that restored_external isn’t so much performing work as it is coordinating it. In this case, restored_external is asking an IOKit service to flash an image to NOR, and this IOKit service is kicking the can back and saying no thank you, not my type.
It’s time to patch this service to allow it to load unsigned img3 files. Our goal here will be very similar to the patches we made to the iBSS and iBEC: find where the personalization tags of the img3 are checked, and patch the comparisons to ensure they always succeed. The primary difficulty here is just locating the IOKit service that restored_external is talking to.
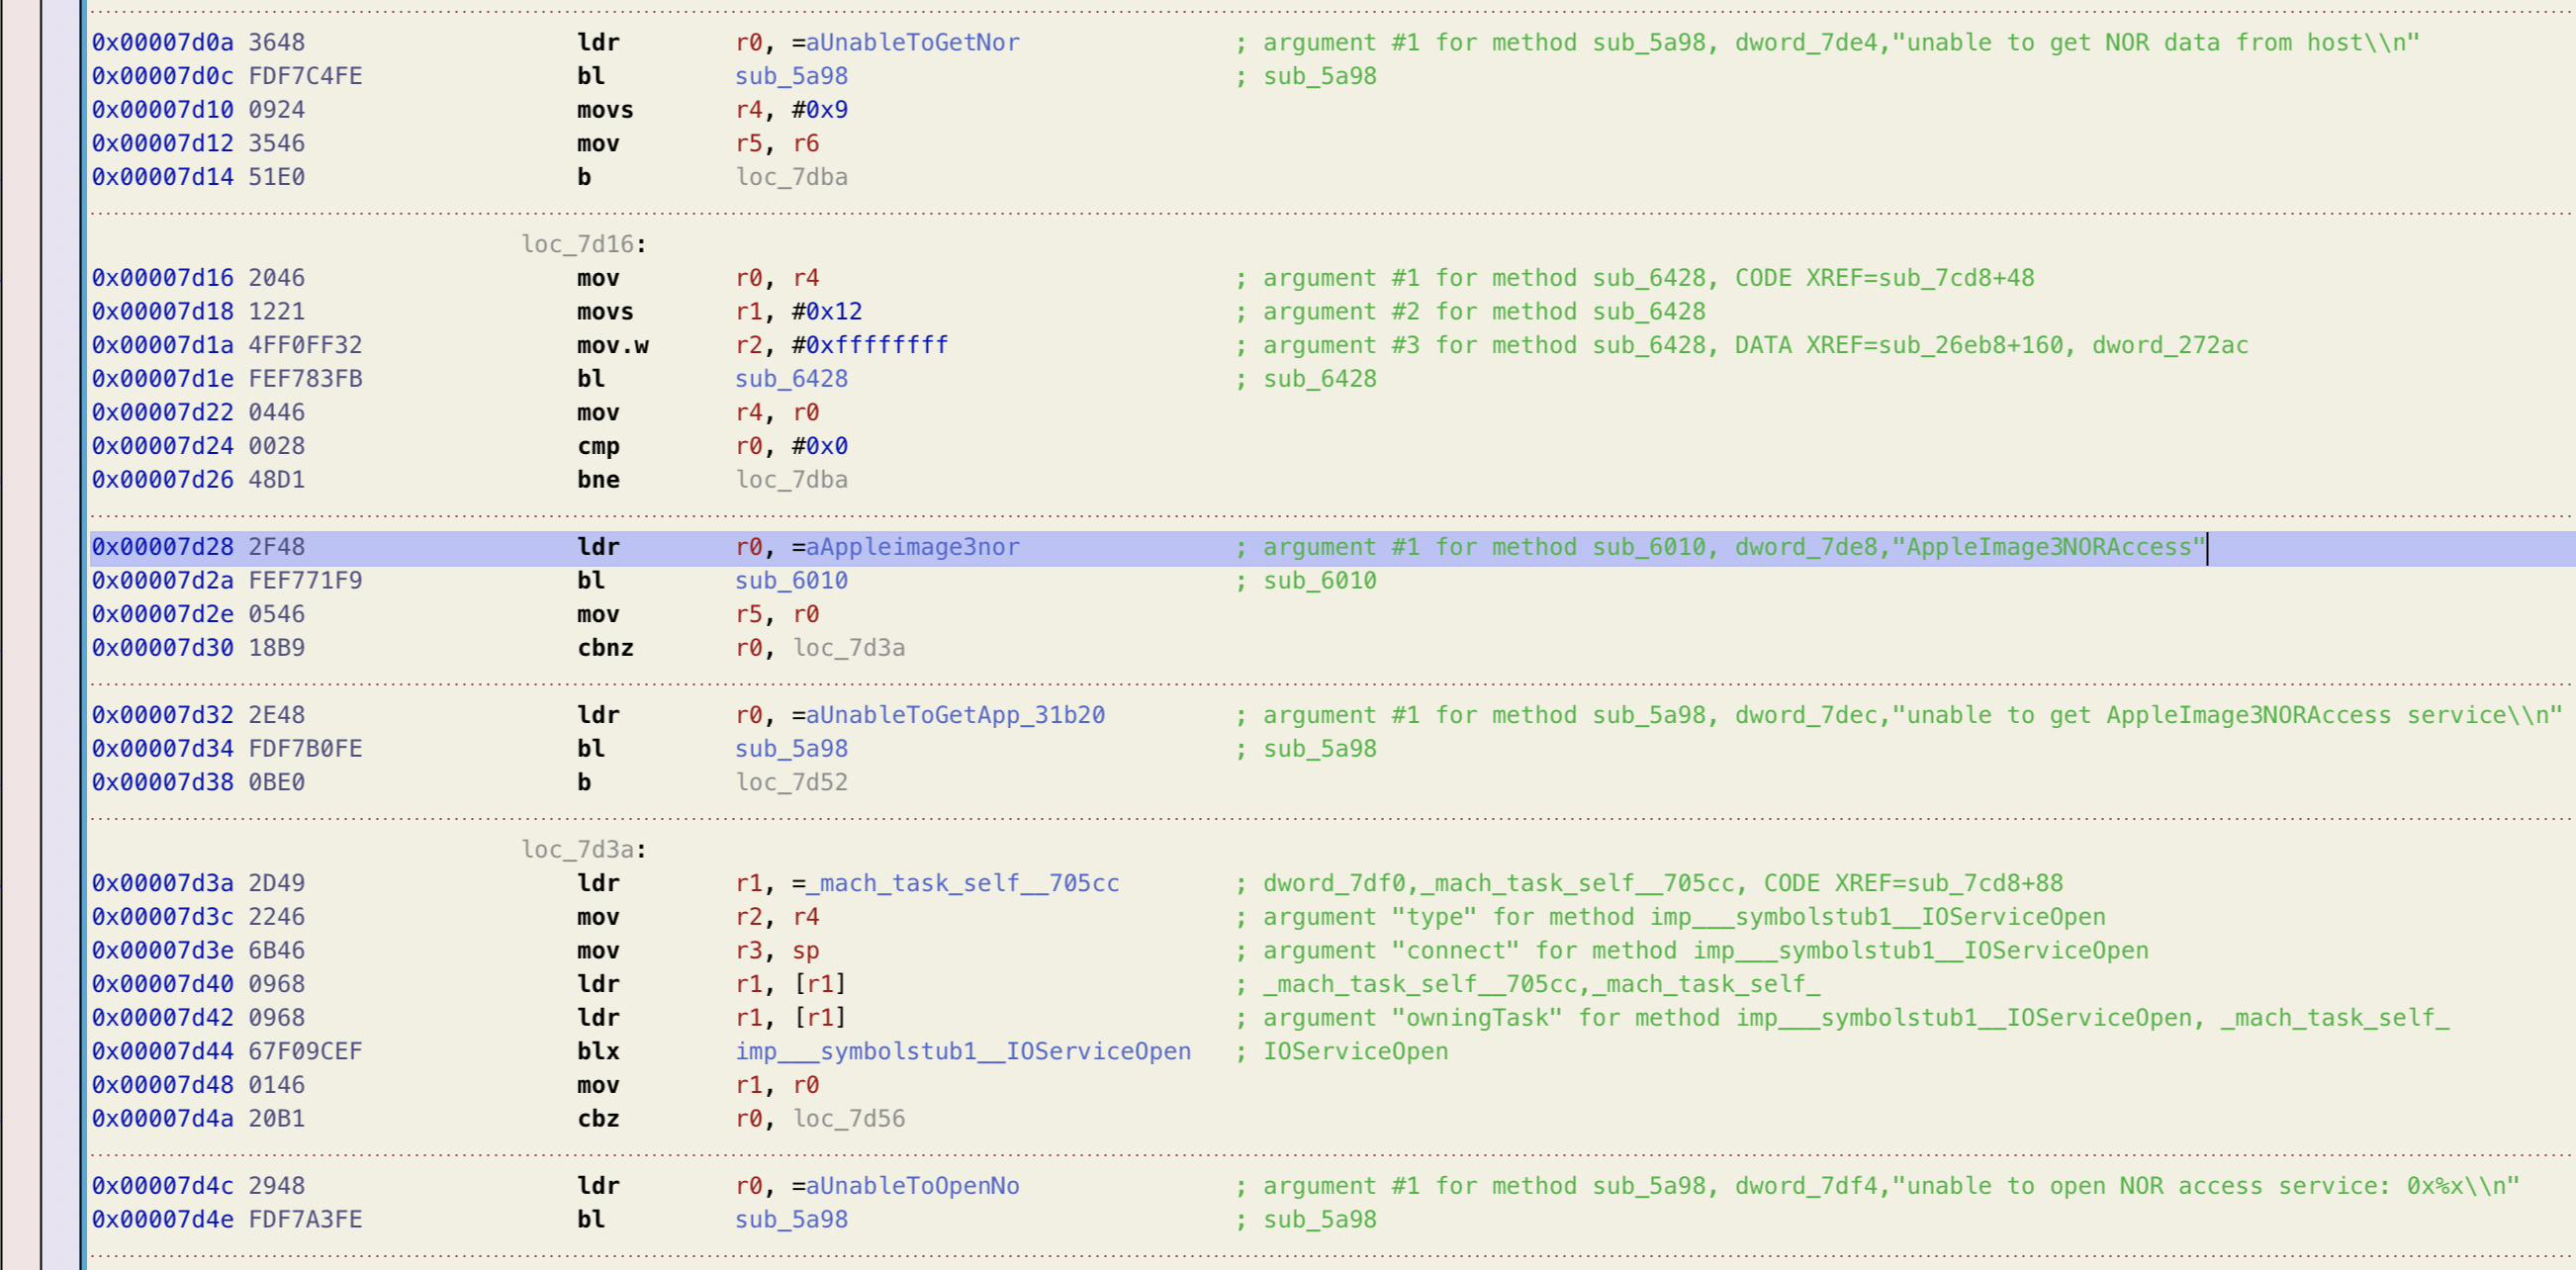
Okay, restored_external is looking for an IOKit service named "AppleImage3NORAccess". I like the descriptive naming, and we can take this string straight to our kernelcache to dig further.
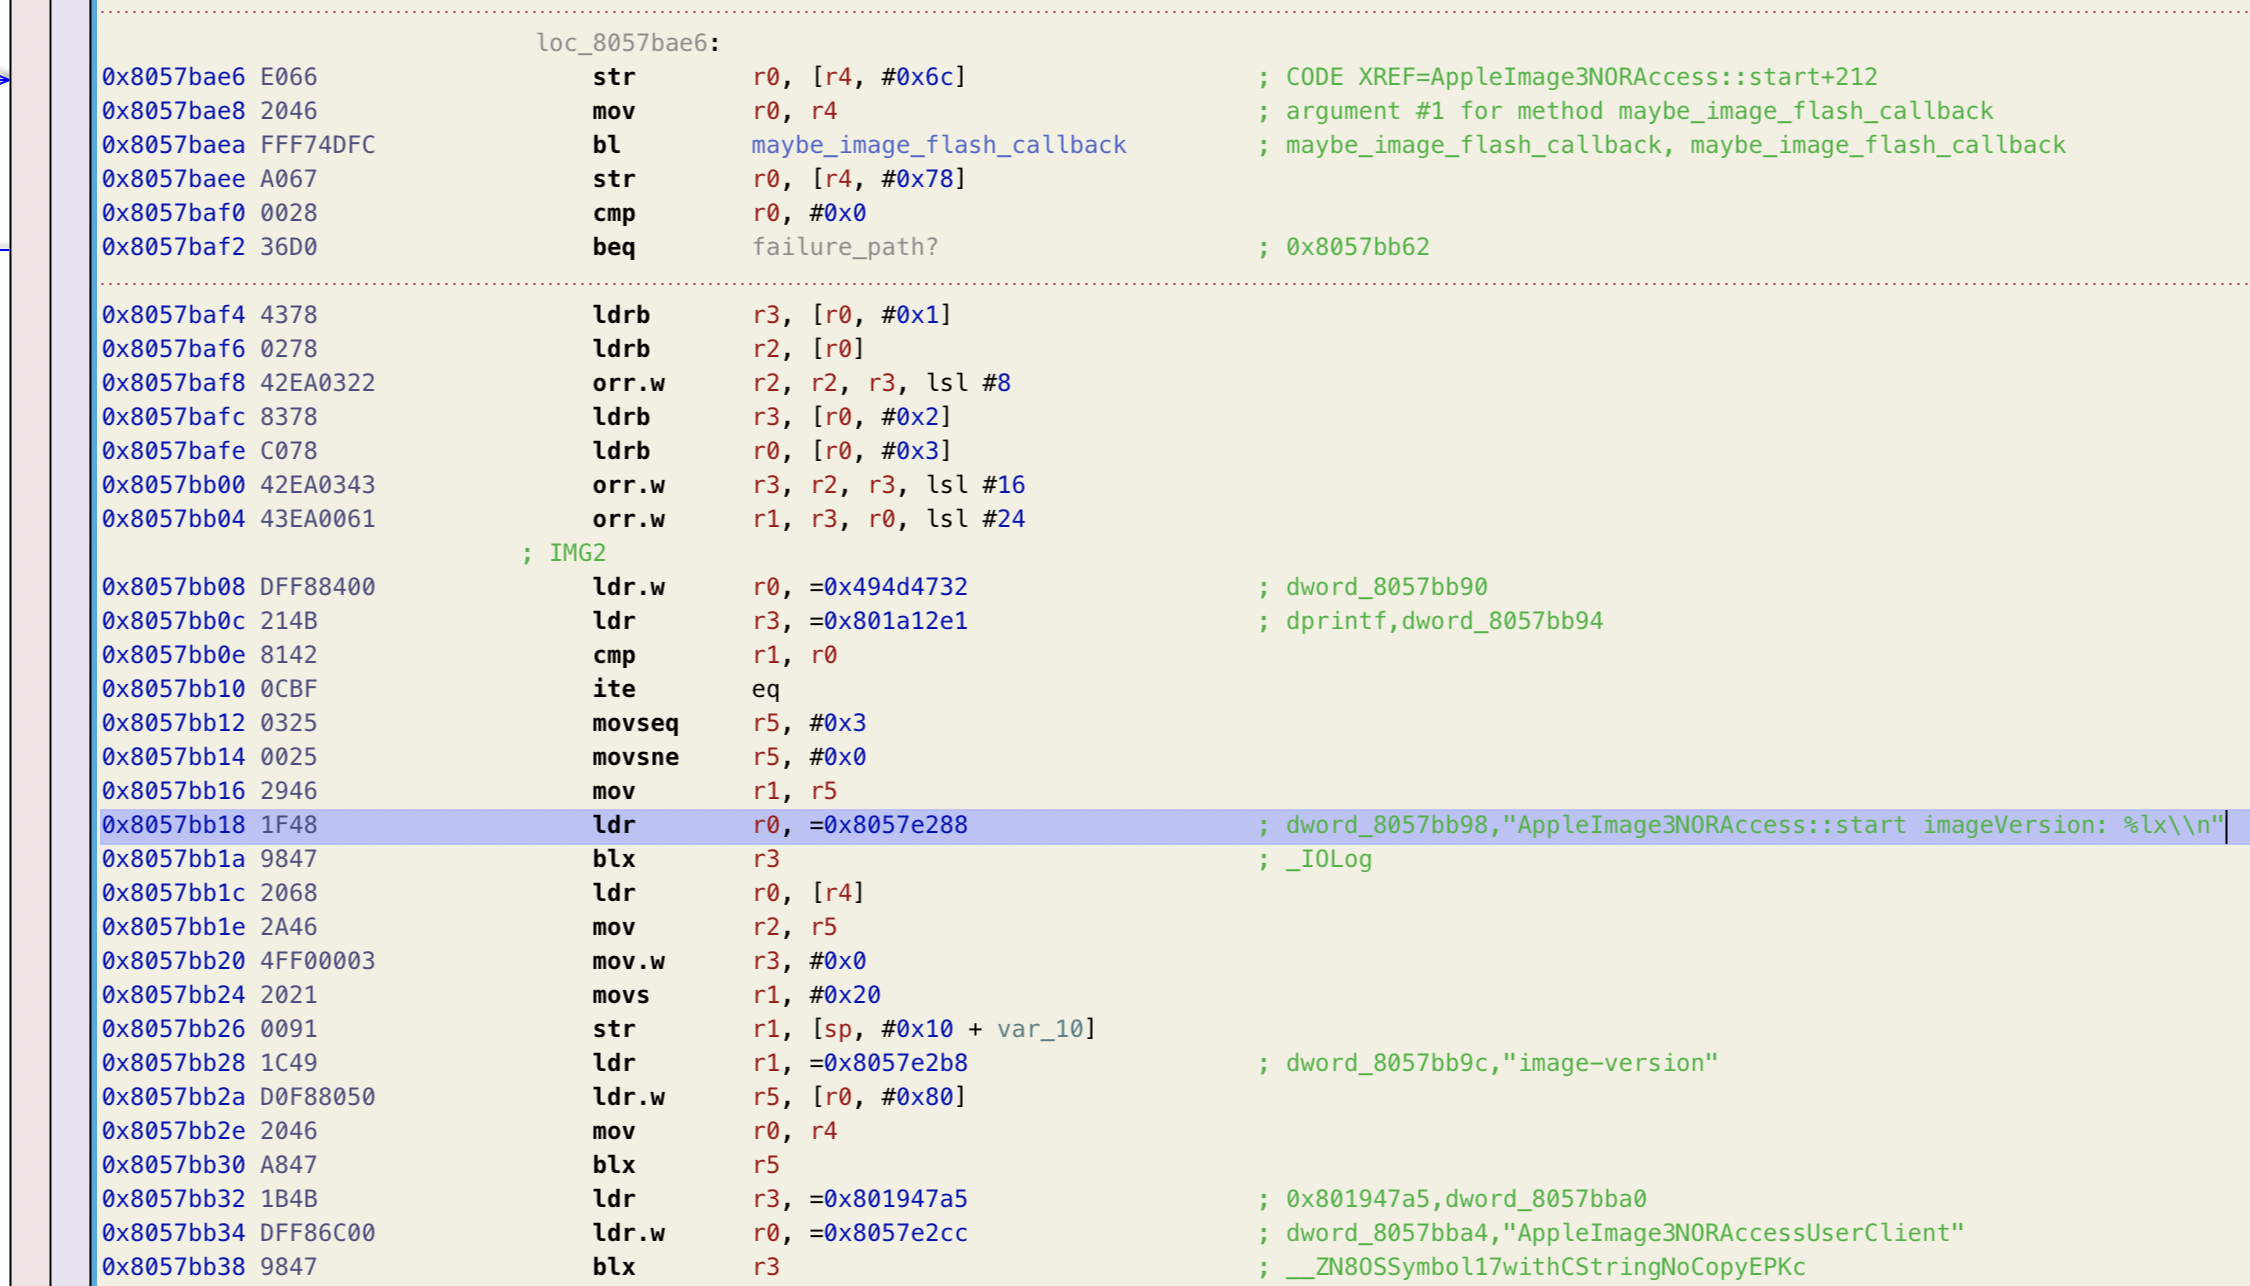
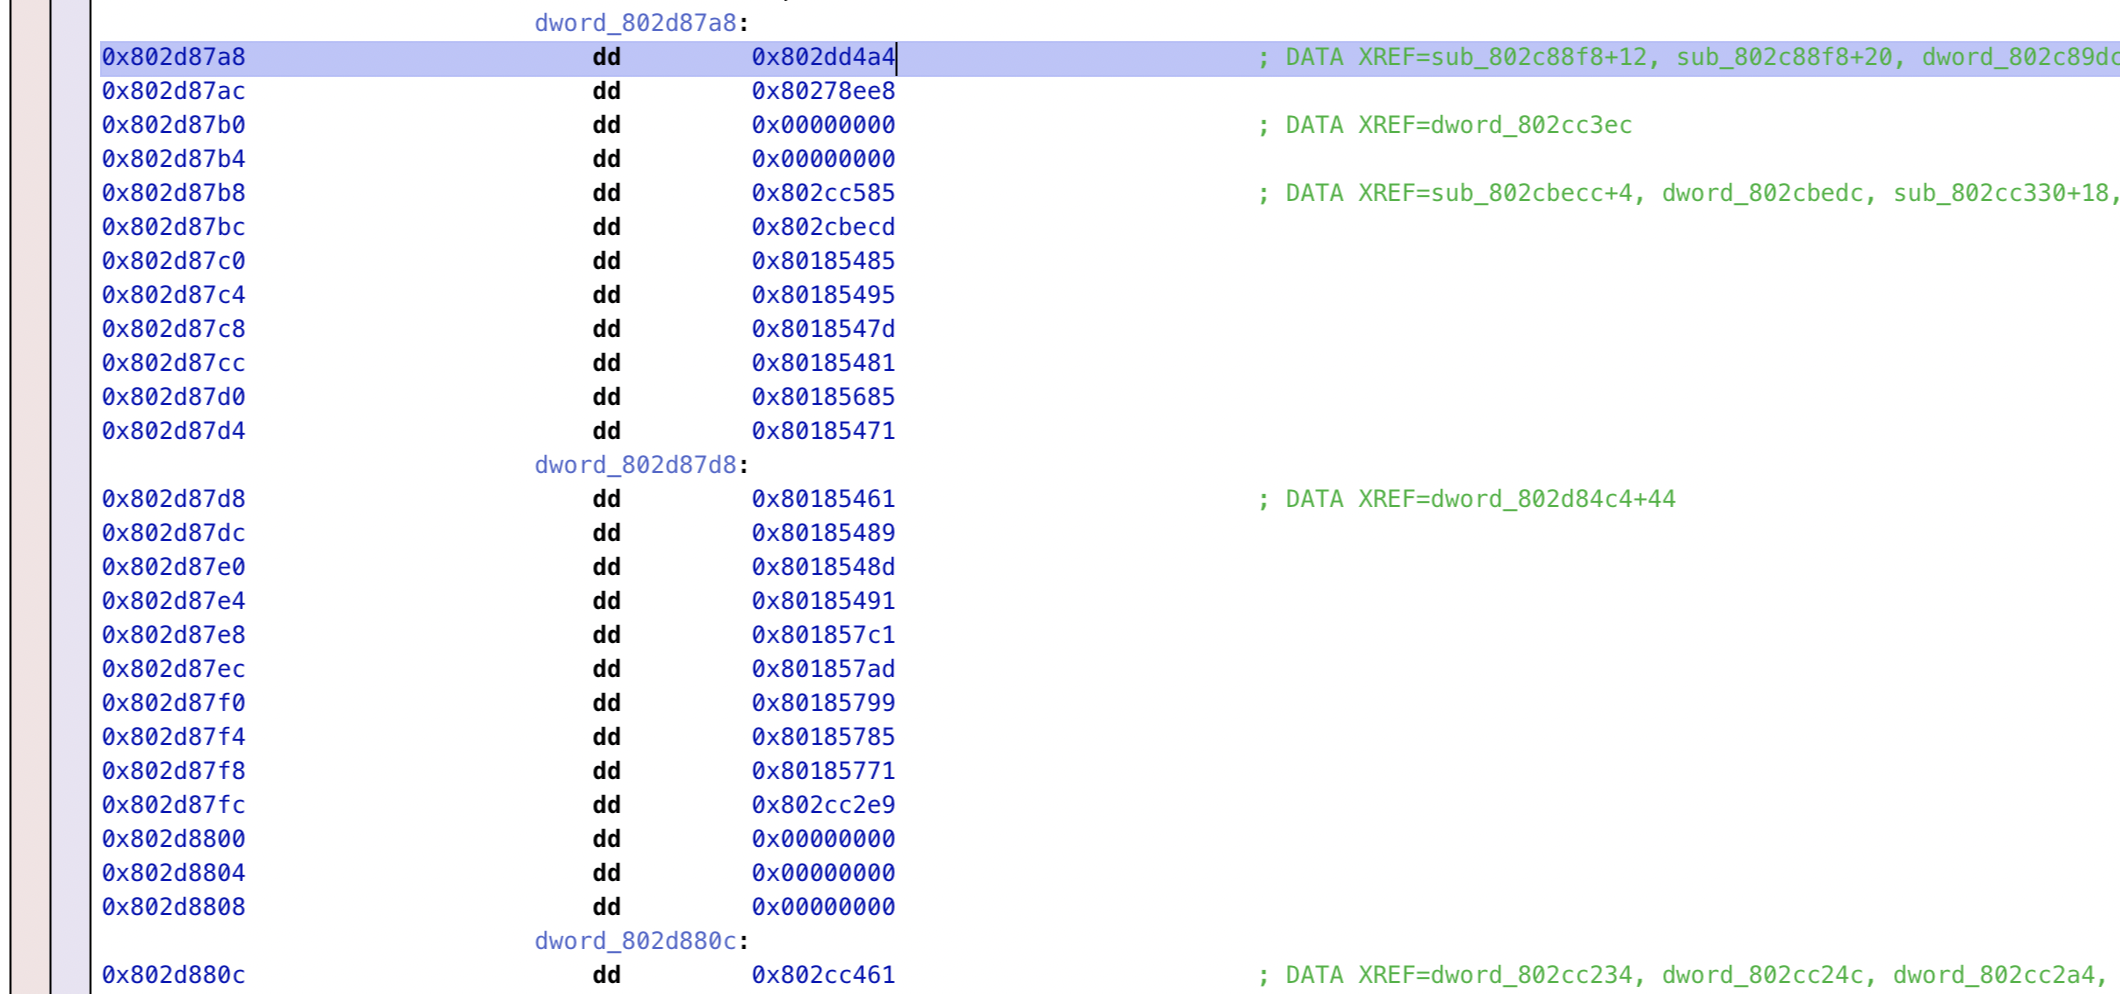
I’m not sure how an IOService is meant to set up its handlers for each client message that comes in. I can see that this service interacts with some static data containing a bunch of callback pointers, but these all look as though they’re shared across all IOServices, rather than being callbacks specific to the NOR-flashing service.
I ended up just noodling around in the kernelcache, searching for locations that load constants such as 53485348 (SHSH) and 43455254 (CERT). They’re not too tough to spot: take a left past the kernel proper and continue straight. If you pass the WLAN highlands, you’ve gone too far.
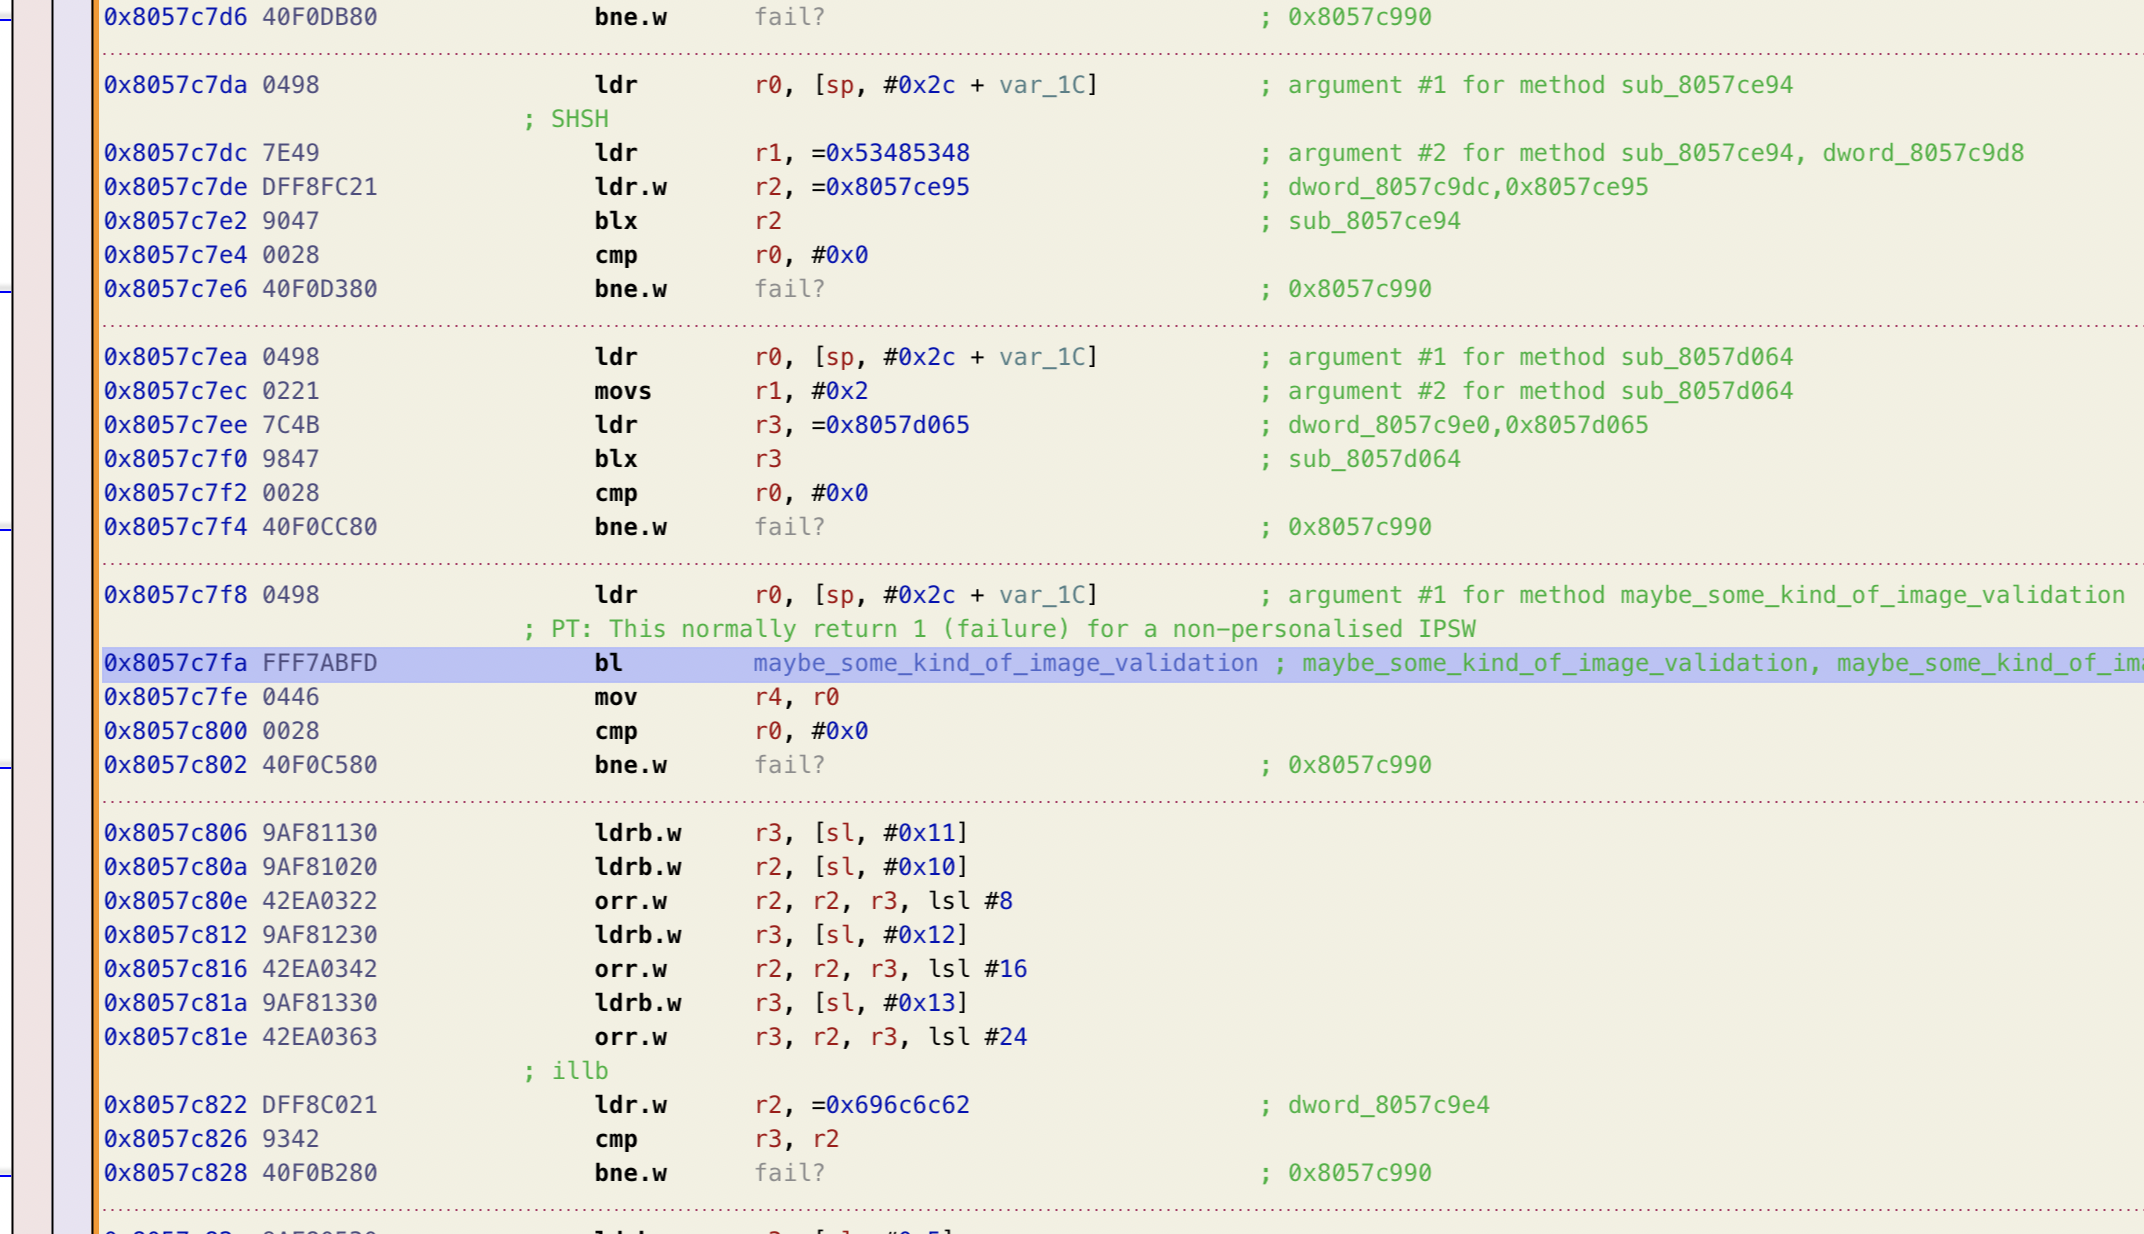
Interestingly, the function containing these symbols is quite far away from AppleImage3NORAccess::start()! They’re separated by 1.8MB of other binary data. If these were part of the same compilation unit, I would have expected them to be a lot closer together (but perhaps my mental model of the linker is off-base here, or perhaps these image validation routines are simply part of an independent unit).
Signature checks neutralized, let’s give one more try to our restore flow.


$


With that, fingernail-chewing stations prepped and ready, we can just boot! To tell the kernel to do a “normal” boot from the filesystem, rather than attempting to boot from a ramdisk, we’ll change our root disk boot argument from rd=md0 (memory device 0, the device file backing our ramdisk) to rd=disk0s1 (/dev/disk0s1, the “first slice of disk 0”, which contains the System volume that we flashed with asr).


$


I know the older hardware isn’t quite as snappy as we’re used to nowadays, but it’s still tough to know when to call it quits and accept that SpringBoard just isn’t going to make an appearance. Figuring out what’s stopping the device from displaying a UI isn’t too straightforward, though; nothing jumps out in the logs. If you weren’t feeling quite so disheartened as you stared at the lifeless screen, it’d be tough to notice that anything had gone wrong at all.
Despite the lack of obvious error messages, we know this isn’t what we’re after. This is an iOS-or-bust mission. It’s true that I had to massage the filesystem quite a lot when flashing the new filesystem – perhaps something wasn’t quite right there.
Hmm… taking a closer look at the asr output, there does lie a mighty suspicious warning:

It’s easy to ignore this sort of thing when you’re playing fast-and-loose with the normal flow of things, but maybe asr has a point here. Perhaps we can dig into its logic to find out why it detects the drive as unbootable, so that we can update our process to fix it?
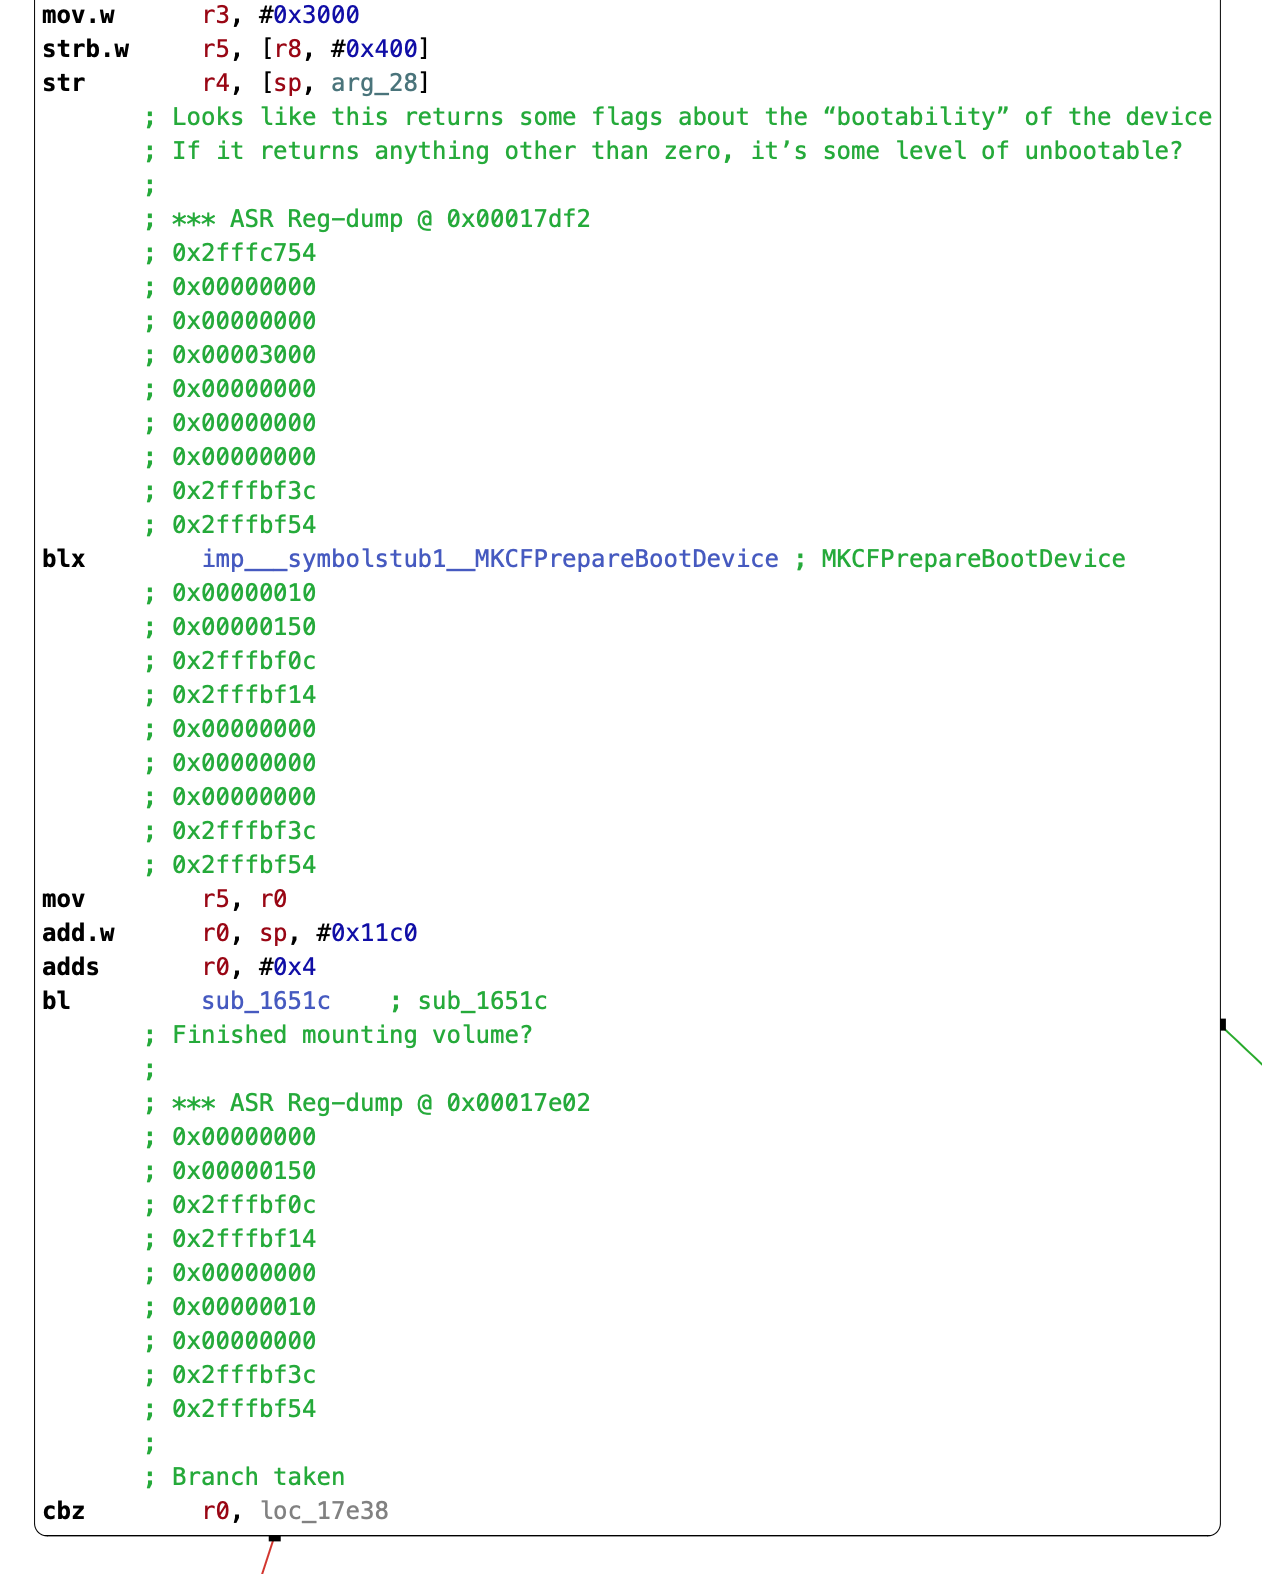
asr is relying heavily on /System/Library/PrivateFrameworks/MediaKit.framework for interacting with the drive. The MediaKit APIs hand out various kinds of objects that asr then manipulates, which can make it difficult to get a sense for the behavior when just statically analyzing some existing code that relies on MediaKit. To get a bit more comfy with what MediaKit provides, I set up a build environment so that I could call the private MediaKit functions, observe their result, and grow my understanding of how this API works.
To do this, I finally had to set up the iOS 4 SDK! Rather than going through all the fuss of setting up the expected development environment for this vintage of iOS (which would involve creating a VM that runs an old Mac OS X version), I instead felt confident by this point to hack up the toolchain to my liking.
I downloaded an old Xcode distribution that included the iOS 4.0.1 SDK. This isn’t quite the version of iOS I’m after (which would be 4.0), but it should be close enough for pancakes.
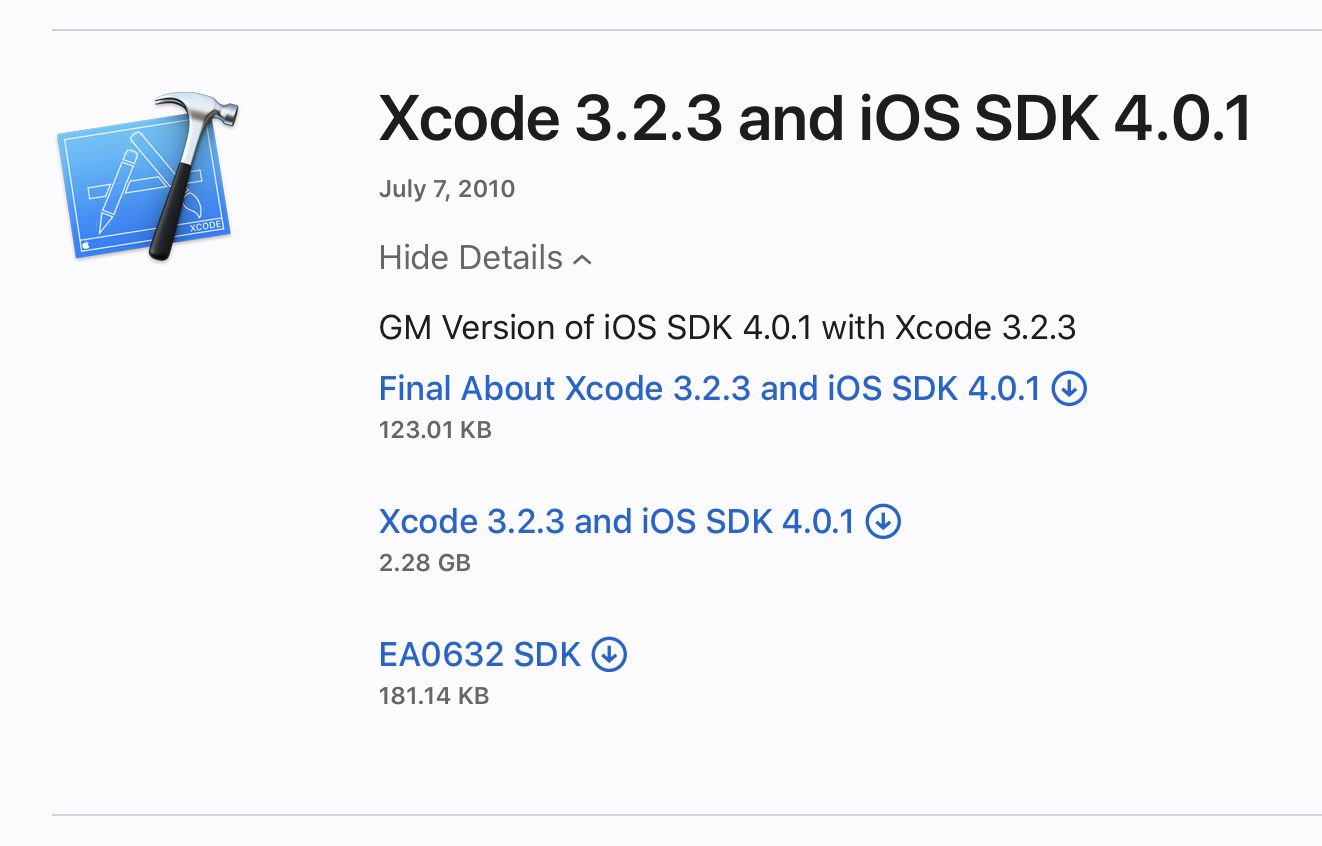
Instead of installing this Xcode distribution, I poked around to see what it provides. There’s a Packages/ folder within the installer that contains all sorts of goodies. iPhoneSDK4_0.pkg sparkled and glinted among the rubble.
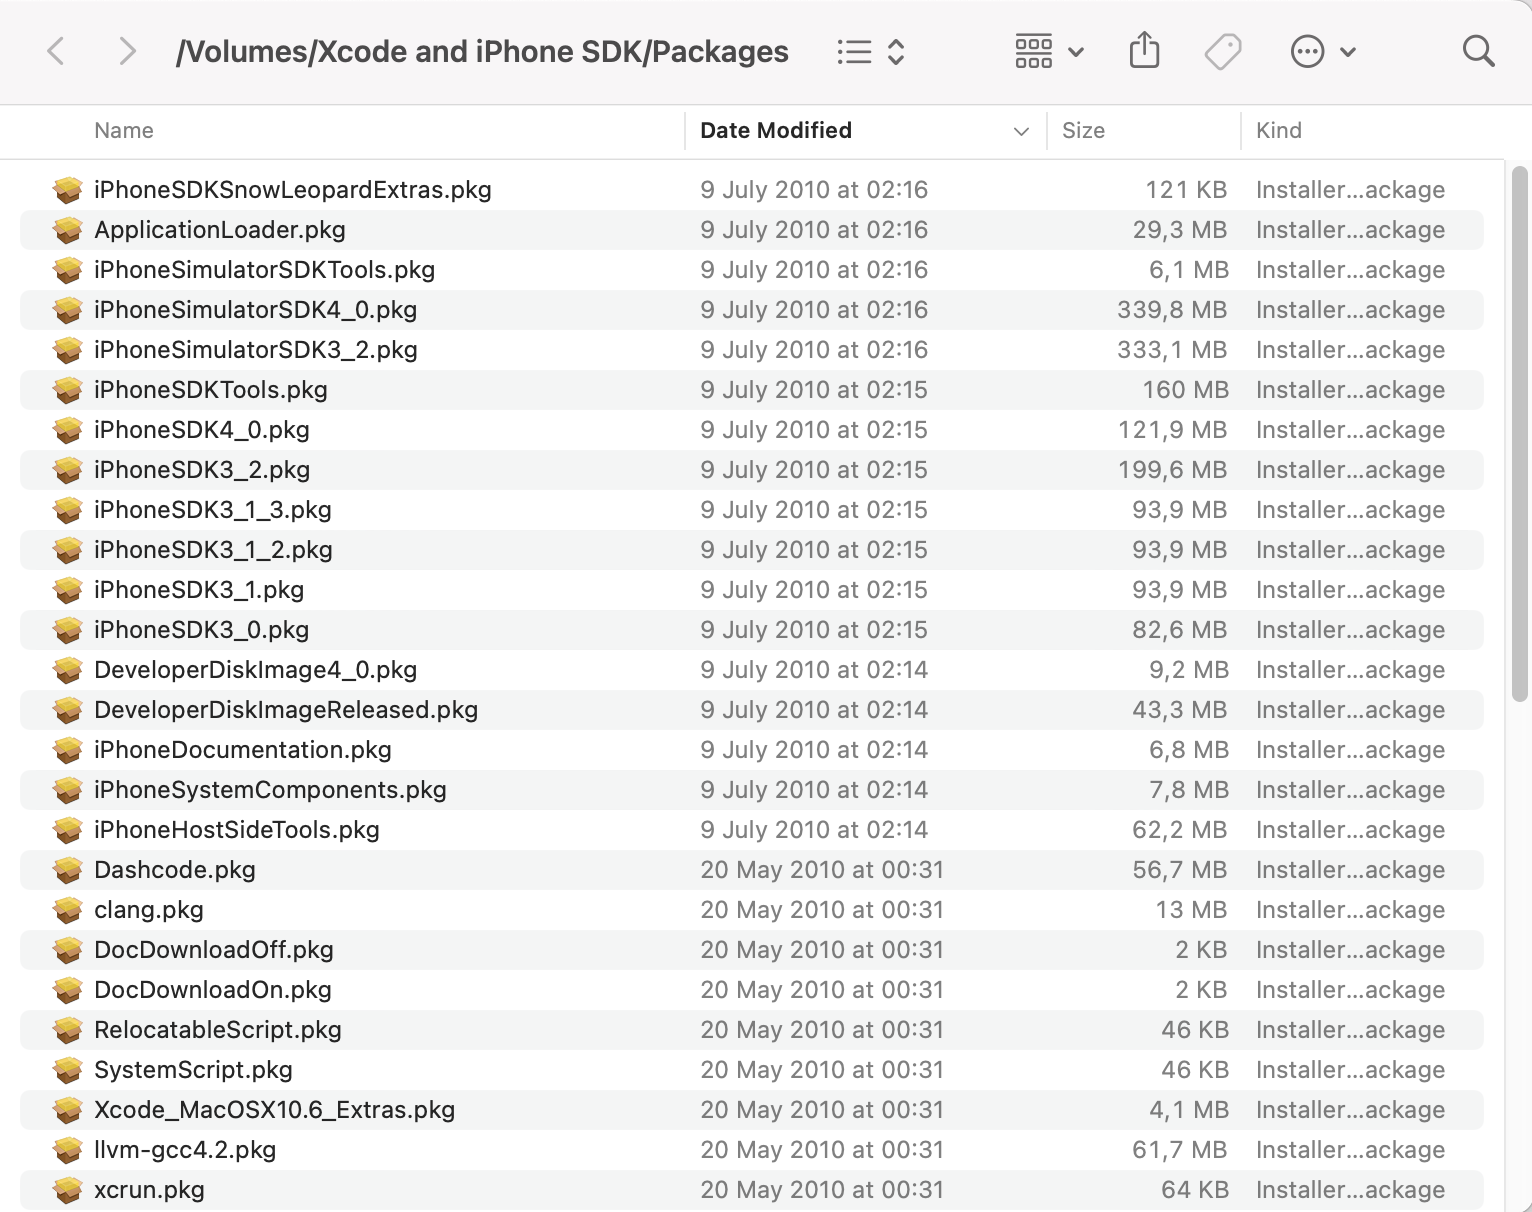
Upon expansion, I was greeted with a blob of bytes:

Payload reveals itself to be a benign gzip archive. Decompress it, and we’ve got a bona fide iOS 4 sysroot!

We can now use this sysroot to cross-compile code suitable for running on our iPhone 4, in the iOS 4 environment. After a fair bit of fiddling, here’s the incantation that’ll shepherd all the bits to their respective stables:
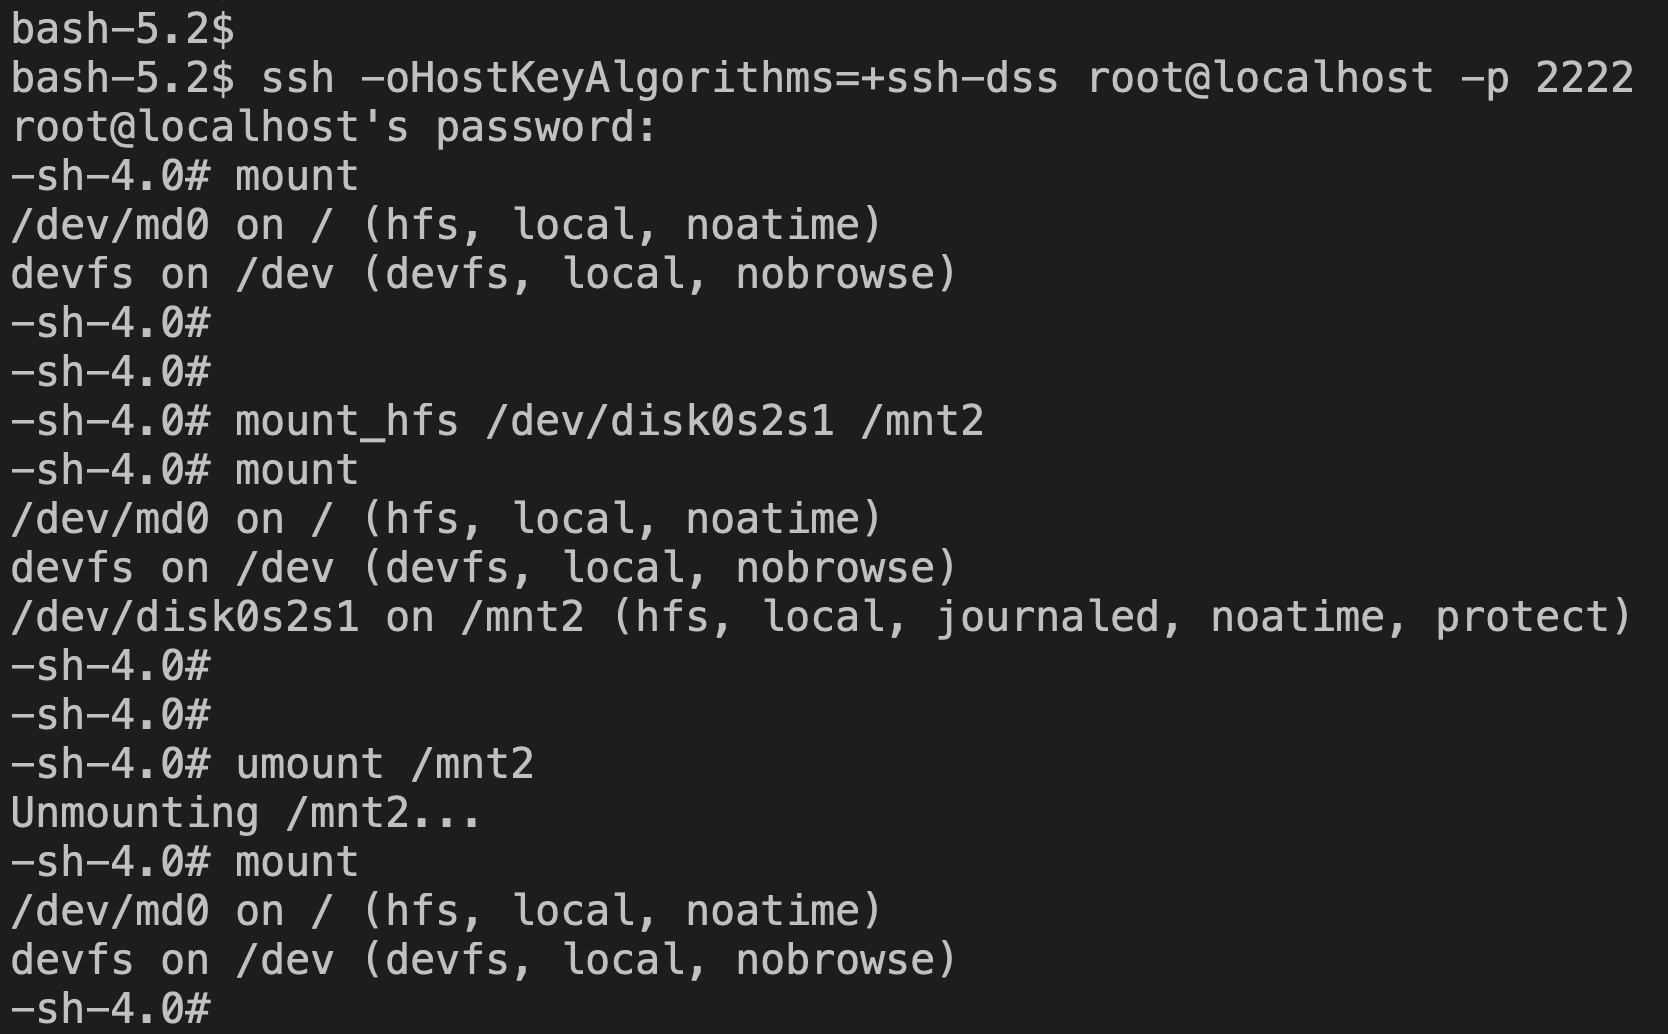
$ xcrun -sdk ./iOS4SDK/Platforms/iPhoneOS.platform/Developer/SDKs/iPhoneOS4.0.sdk clang -arch armv7 -mios-version-min=4.0 program.c -o programLet’s give this toolchain a proper kick in the tires before heading back to our MediaKit conundrum. We’ll create a small utility to show off our newfound ability to compile tools targeting iOS 4. Like we saw earlier, the Restore ramdisk is pretty trim, and only includes the utilities it really needs. As a consequence, it’ll let you /usr/sbin/mount a disk, but provides you with no way to /usr/sbin/umount it! As our guinea pig for using this toolchain, let’s fix this shortcoming. Thanks to some handy functions in libSystem.B.dylib, unmounting a disk is as easy as a call to libc::unmount. Our utility doesn’t need to be any more mouthy than the following:
ramdisk_programs/umount/umount.c
int main(int argc, const char** argv) {
	const char* path = argv[1];
	printf("Unmounting %s...\n", path);
	return unmount(path, 0);
}
Build it against our new (to us) iOS 4 toolchain, deploy it to the device over scp, and wham-o! Mount, unmount, mount, unmount, I could do this all day.
Back to our MediaKit shenanigans, we’ll need some way to link against the framework. Unfortunately it isn’t present in the SDK, but we can just go ahead and copy the MediaKit.framework from the ramdisk image to our SDK’s sysroot at ./iOS4SDK/Platforms/iPhoneOS.platform/Developer/SDKs/iPhoneOS4.0.sdk/System/Library/PrivateFrameworks/. With that, we’re free to play around with MediaKit’s symbols, poke around the API, and run our experiments on our connected iPhone 4.
Unfortunately, I’m not making much headway on deciphering MKCFPrepareBootDevice’s logic. The behavior I’m understanding based on my asr reversing is that MKCFPrepareBootDevice returns a flag indicating the state of the boot disk. If the flag is non-zero, then the drive will be some level of unbootable, and asr will either inform the user with Warning: You may not be able to start up a computer with the target volume. or The target volume will not be bootable. Continue anyway? [yn]: based on the contents of other data in a structure that MediaKit populates.
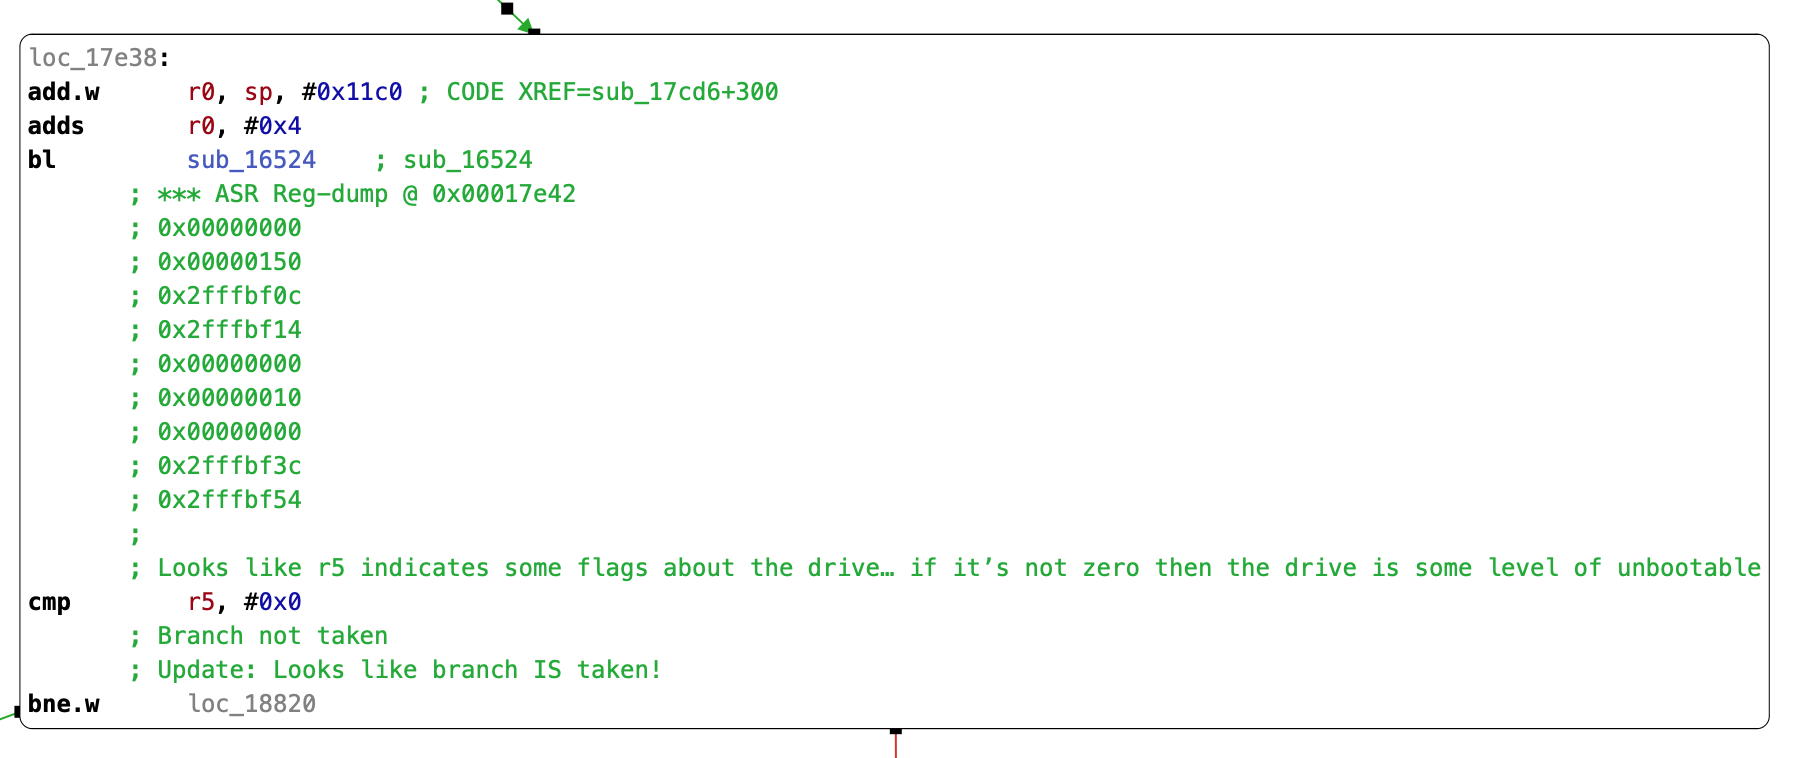
Observing asr’s behavior during our controlled execution, MKCFPrepareBootDevice returns 16, and asr diagnoses the disk’s condition as completely unbootable. We must be doing something awry, as everything works in an out-of-the-box asr invocation. Let’s take another look at the system’s default asr incantation, and compare it to our own.
# The asr invocation performed by restored_external
$ /usr/sbin/asr -source asr://localhost:12345 -target /dev/disk0s1 -erase -noprompt --chunkchecksum --puppetstrings
# The asr invocation we're currently using
$ /usr/sbin/asr -source /mnt2/rootfs.dmg -target /dev/disk0s1 -erase
Let’s see what happens when we tweak our invocation to be closer to what restored_external does…
$ /usr/sbin/asr -source /mnt2/rootfs.dmg -target /dev/disk0s1 -erase -noprompt --chunkchecksum --puppetstrings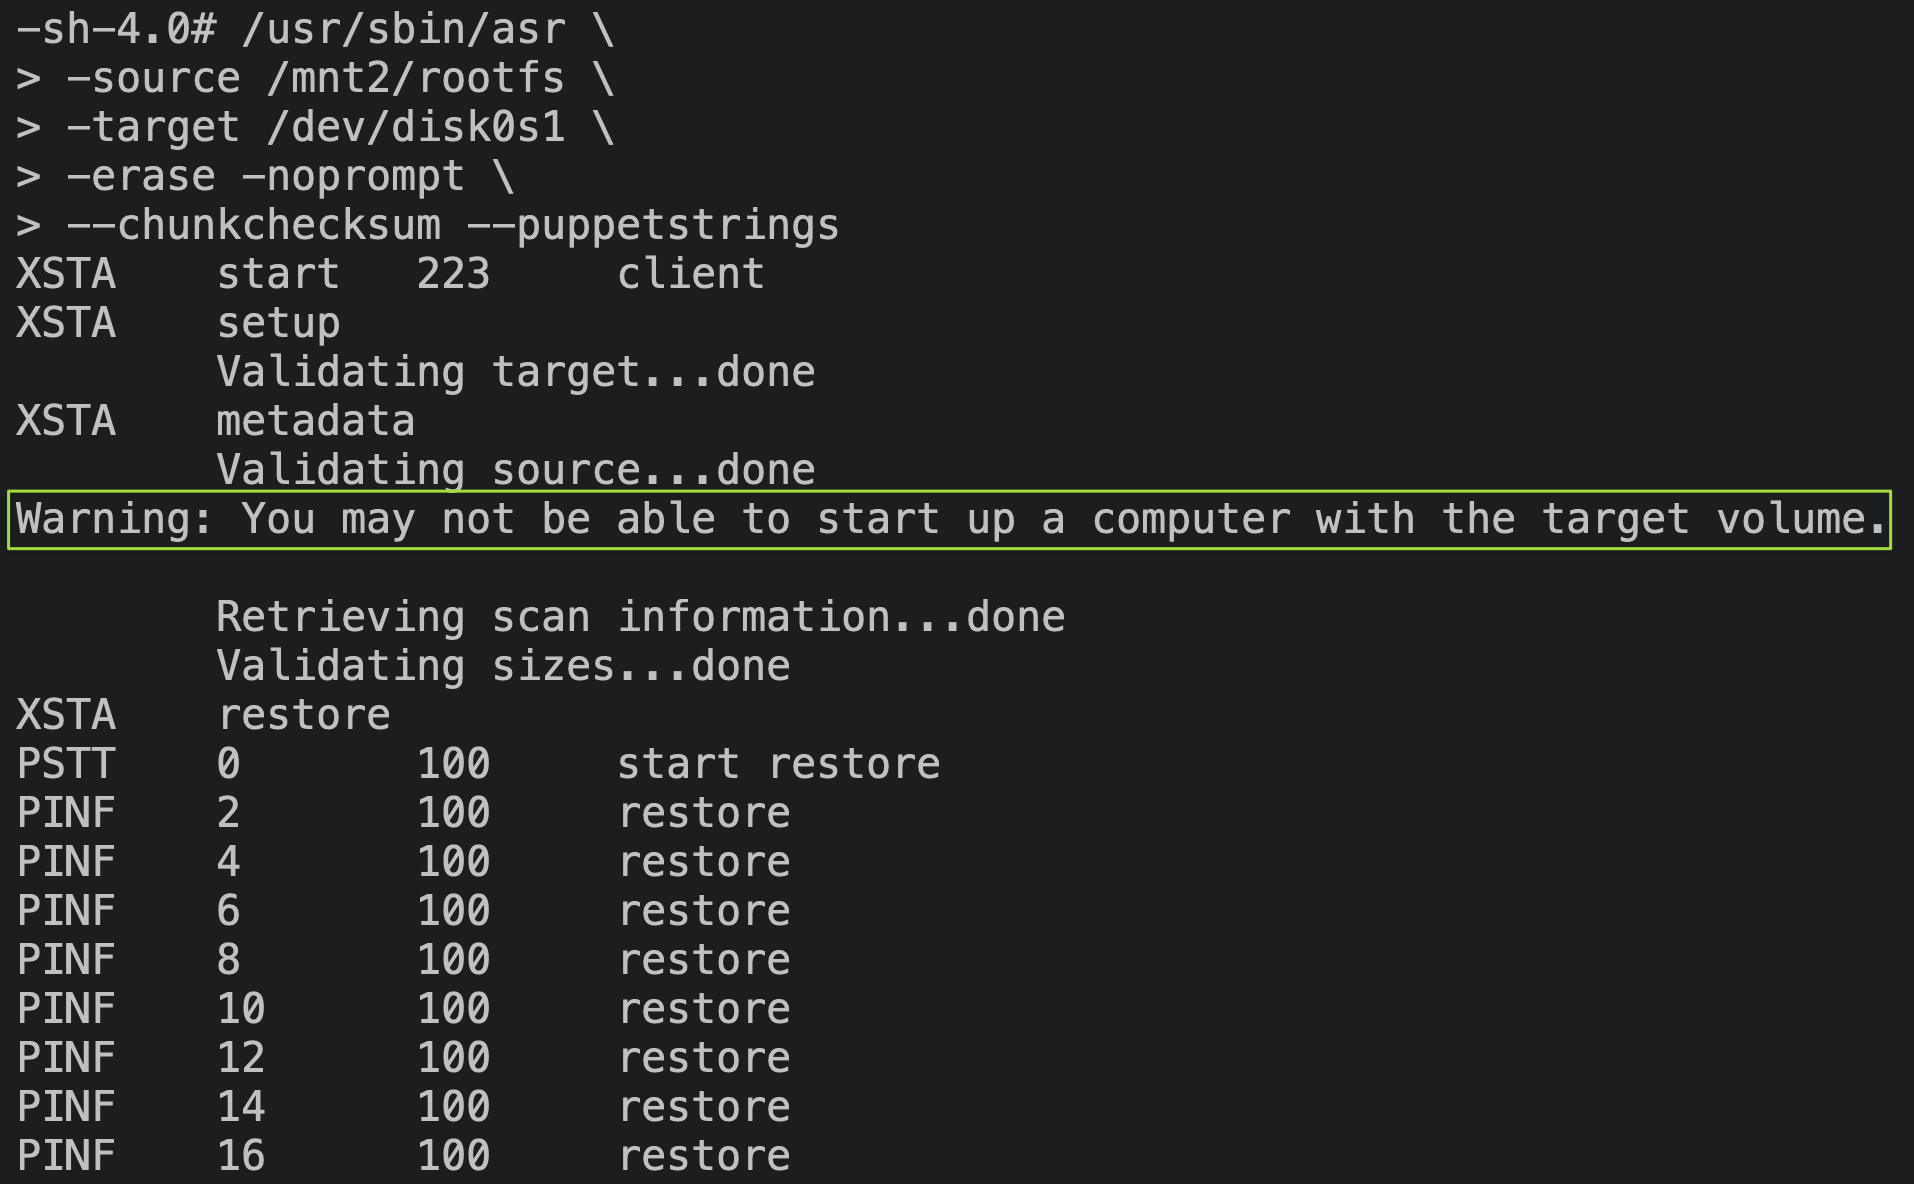
Gooey golly gumdrops, we’ve done it. Contrast with our error from earlier:

The message now claims that the volume may be unbootable rather than will be unbootable, but from testing I found that this actually means that asr will manage to flash a bootable OS image. I’ve not got a clue why adding the -noprompt flag nudges things onto a code path that works, but I’m not complaining. I’m assuming that this other code path has extra MediaKit interaction that renders the drive bootable, while the interactive code path doesn’t.
Completing the restore
We’ll need to make a quick change to restored_external to avoid its normal code path of wiping our hard-won filesystem image. From some digging around in the disassembled code, restored_external will read configuration from /usr/local/share/restore/options.plist. There are some configuration options that the code knows about, but that aren’t specified in the options file shipped in the ramdisk. Specifying one such flag in a disabled state, CreateFilesystemPartitions, will helpfully allow us to bypass all the restored_external behavior that we’d like to skip for the moment. I added a new patch type to overwrite the contents of a file wholesale:
gala/iPhone3_1_4_0_8A293_patches/restore_ramdisk.py
restore_options_plist_patch = DmgReplaceFileContentsPatch(
    file_path=Path("usr/local/share/restore/options.plist"),
    new_content="""<?xml version="1.0" encoding="UTF-8"?>
<!DOCTYPE plist PUBLIC "-//Apple//DTD PLIST 1.0//EN" "http://www.apple.com/DTDs/PropertyList-1.0.dtd">
<plist version="1.0">
    <dict>
        <key>SystemPartitionSize</key>
        <integer>1024</integer>
        <key>CreateFilesystemPartitions</key>
        <false/>
    </dict>
</plist>
""".encode()
)
After allowing restored_external to perform the rest of the restore, we’re ready to try booting up the device again.


$


The first time I saw the screen light up, I excitedly unplugged the device and pranced around in delight (standard procedure for hacking). I poked around the home screen a bit, then locked the device and went back to my computer. Imagine my horror, then, when the LCD went black and refused to turn back on! Reboots were of no help. The device would boot successfully, and would perform the classic vibration indicating the device was ready, but the screen stayed totally black throughout. Thankfully, I’ve read about this:
Locking a device with an unsigned bootchain (specifically the LLB) while on battery power causes iOS to disable the LCD. A restore to the latest iOS is needed to fix this.
Kind of annoying, but no worries. I restored the device to the latest signed version (iOS 7.1.2), then ran gala again to flash iOS 4. The LCD works again!
To sidestep this pitfall, let’s tweak restored_external to skip flashing the LLB to NOR, and keep the signed iOS 7 LLB sitting around. Since we’ll use gala (and therefore the iBSS / iBEC boot chain) on every boot, we’ll never need to run the LLB anyhow.
gala/iPhone3_1_4_0_8A293_patches/restore_ramdisk.py
    InstructionPatch(
        function_name="perform_restore",
        reason="""
            This is checking whether the LlbImageData
            key is specified in the restore metadata.
            If it is, the LLB will now be flashed to NOR.
            We want to specifically avoid flashing the LLB,
            because an unsigned LLB leads to the 'dead LCD bug'.
            Therefore, just skip past all this logic so that the LLB is never flashed.
        """,
        address=VirtualMemoryPointer(0x00007D64),
        orig_instructions=[Instr.thumb("cbz r0, #0x7d74")],
        patched_instructions=[Instr.thumb("b #0x7d7e")],
    )
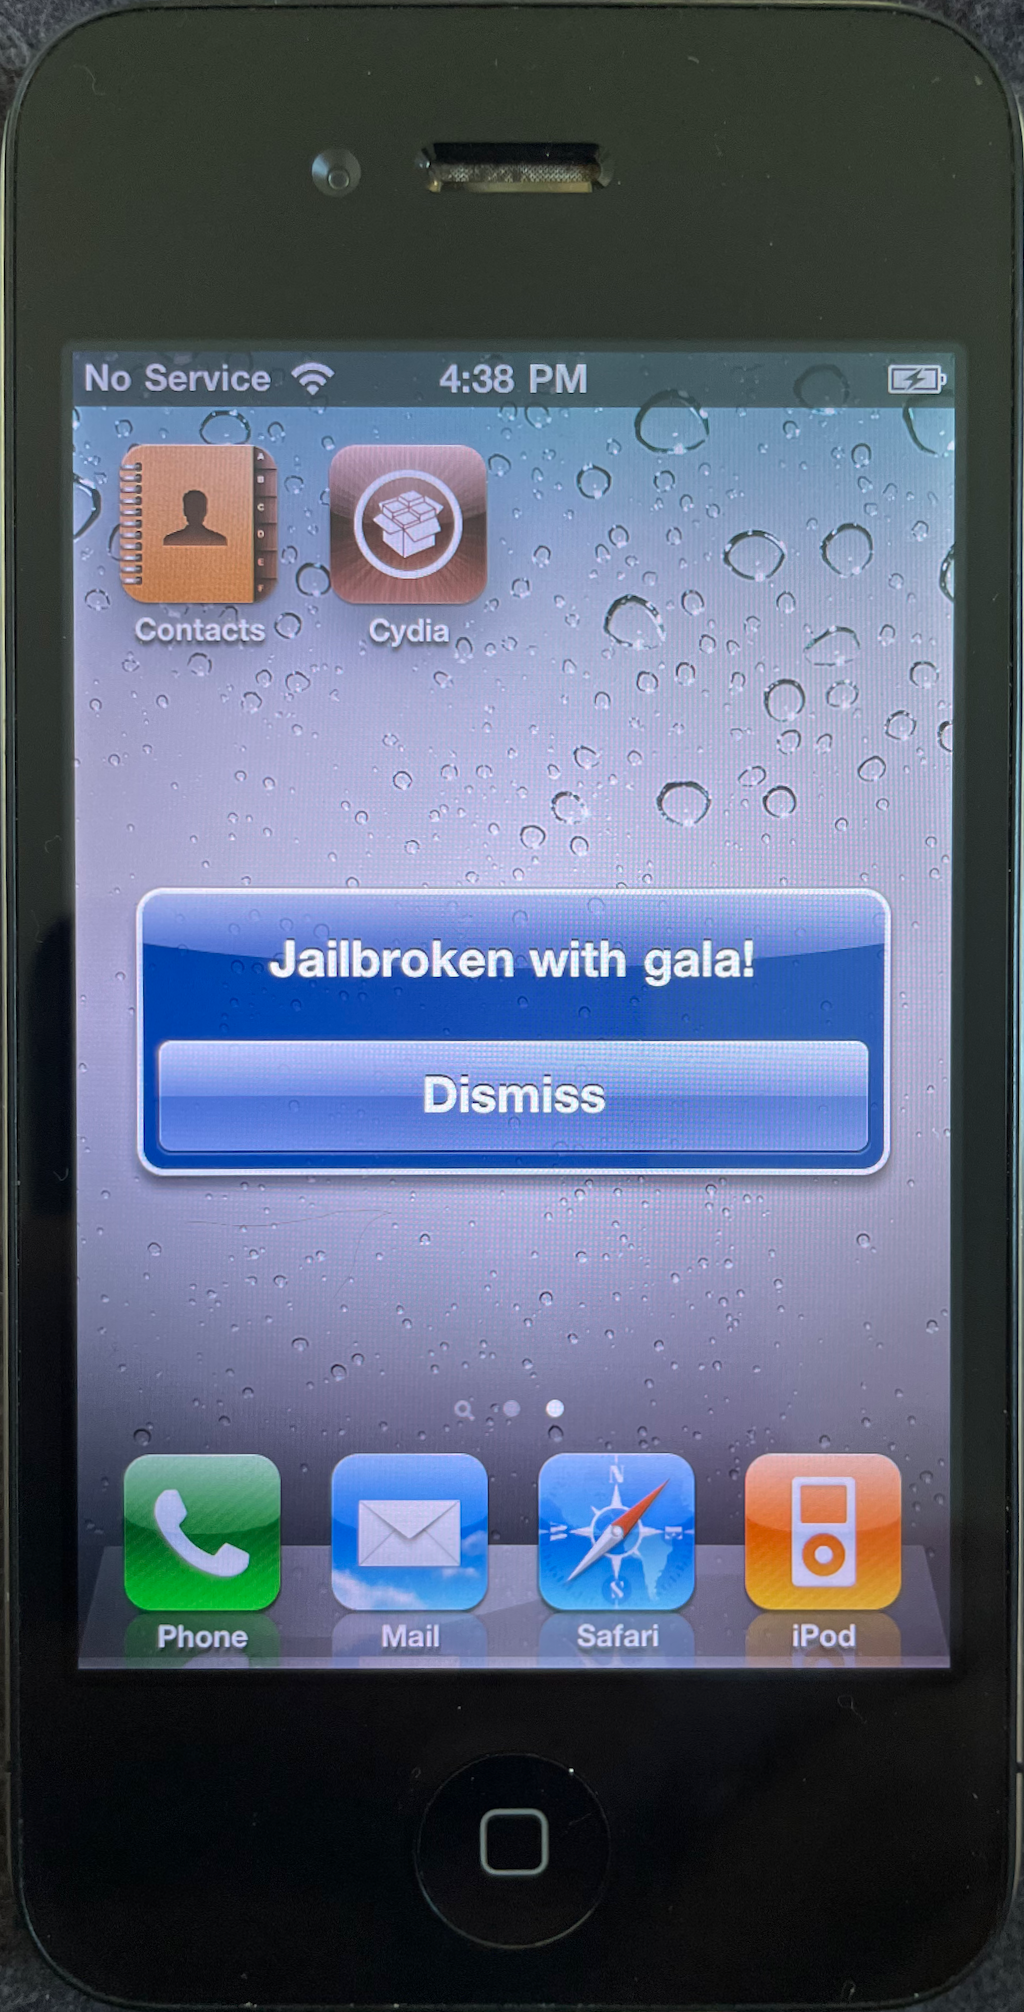
Booting to iOS is a huge milestone in our journey so far! Let’s take a moment to celebrate.
… 🎊 …
God, I’m glad that’s over. Let’s move on. Now that we’re able to perform a restore at all, let’s make sure we can automate it and juice up the user experience a bit.
A couple challenges arise when automating our asr flow:
- Natively, the root filesystem image is fetched over USB. But with our technique,
asrneeds to be provided an image that’s on the device’s filesystem. We’ll needrestored_externalto wait patiently while we upload the root filesystem image over USB, before we askasrto flash anything. restored_externaldoesn’t expect any disk partitions to be mounted, and will mount what it needs itself. If we’re providingasrwith a local filesystem path, it’ll definitely need some disk storage to be mounted. We’ll need to make sure that we mount what we need before runningasr, and unmount it before handing the reins back torestored_external, so the system looks like it expects.
The way I got around this was by patching restored_external to run a new program that I’ve written, asr_wrapper, instead of asr directly. asr_wrapper knows how to communicate with gala on the host Mac, and will perform all the steps to ensure the system is in the right state when we hand back to restored_external:
- Mount
/dev/disk0s2s1 - Wait for gala on the host to upload the root filesystem
- Invoke
asr, pointing it to our local filesystem that we’ve uploaded to the device over USB - Unmount
/dev/disk0s2s1(asrestored_externaldoesn’t expect it to be mounted).
I needed a way to communicate bits of data between asr_wrapper and gala. Just to keep things simple, I wrote baby’s first synchronization primitive: creating empty files on-device indicating what state we’ve reached. asr_wrapper and gala tick-tock, checking whether a ‘sentinel’ file exists indicating that the other end has performed its work, and waiting a few seconds if not.
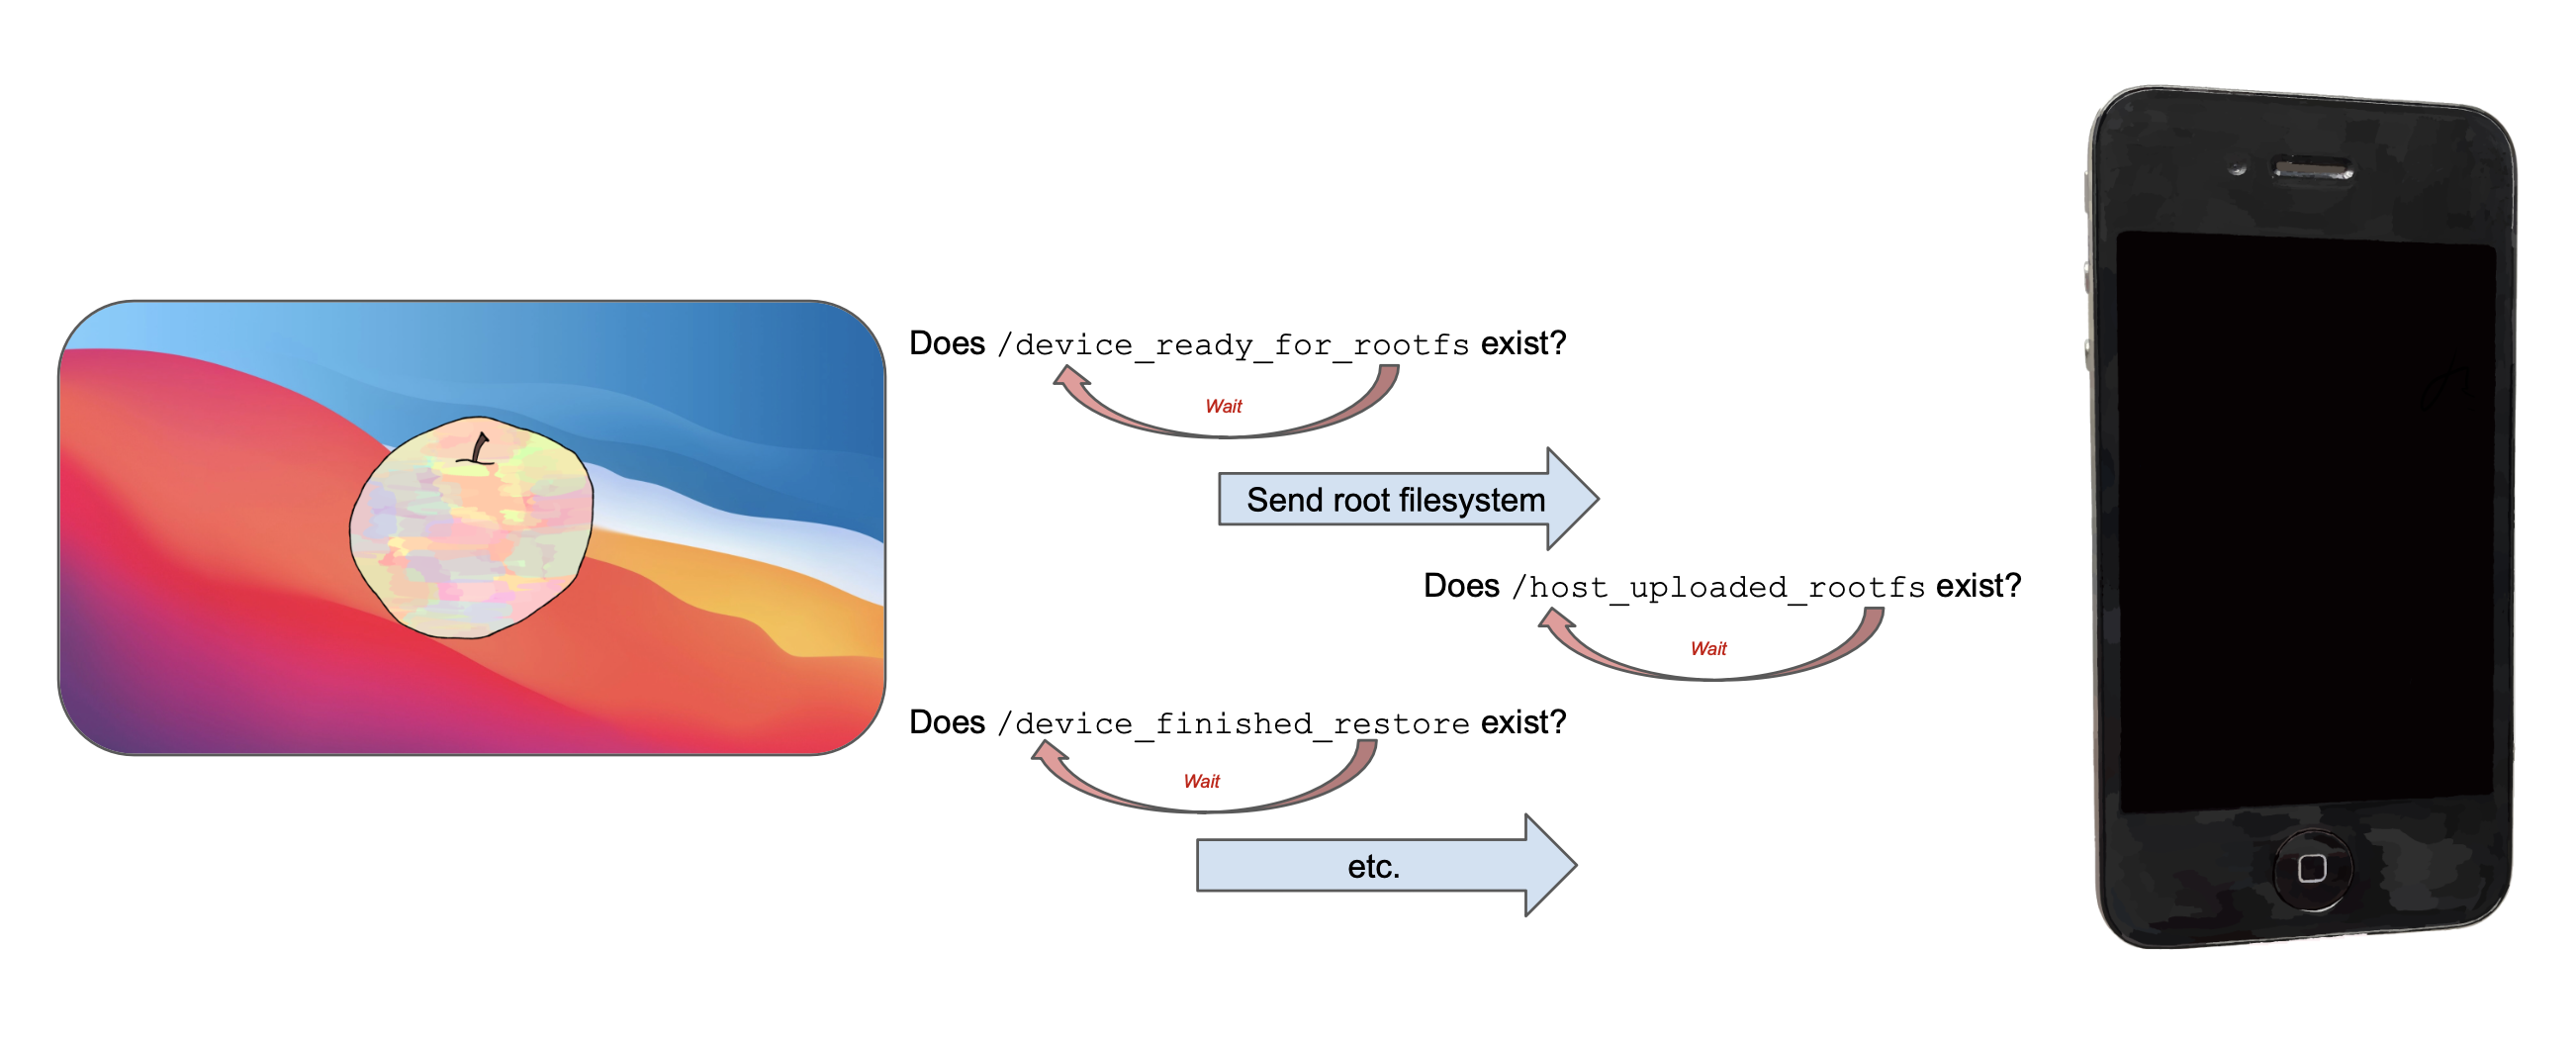
All in all, it takes around four minutes to run these steps.
Displaying progress
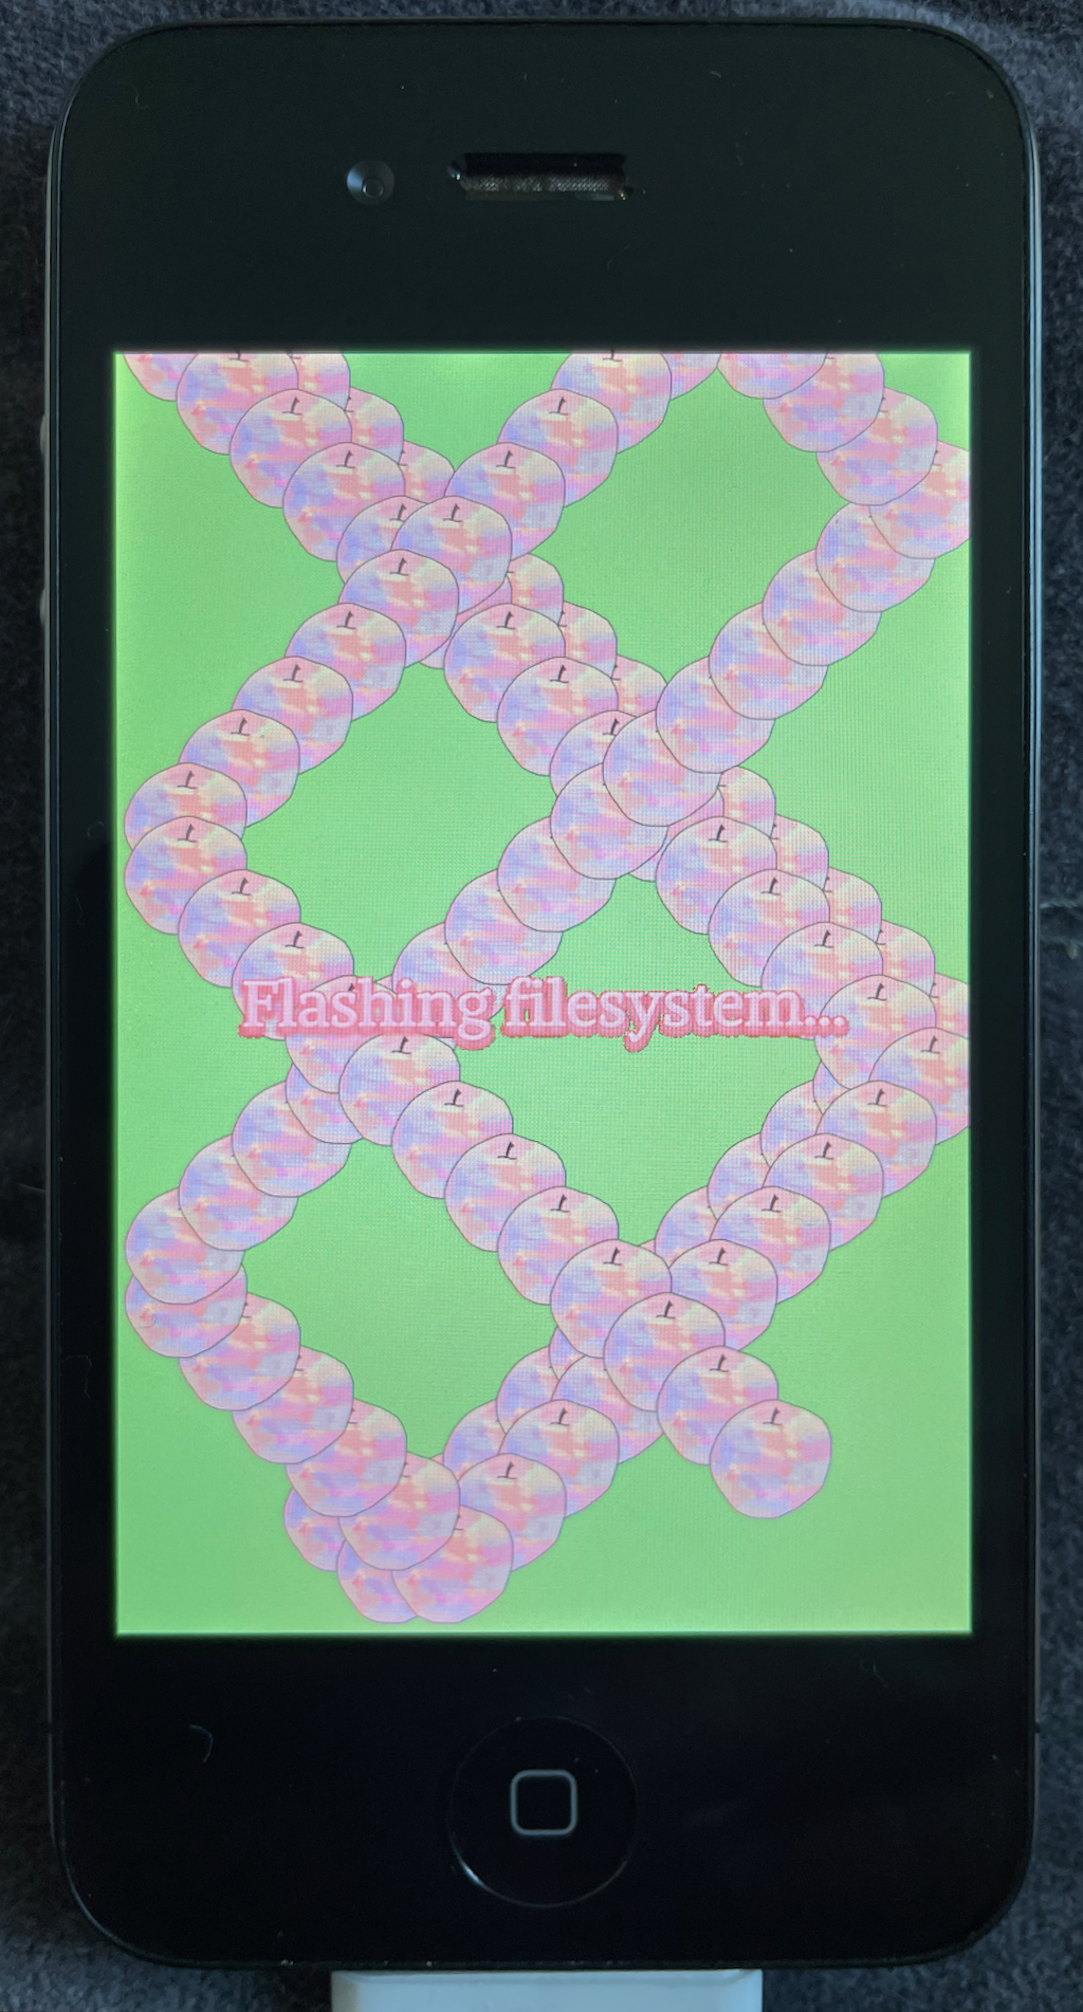
When I was automating this, it became clear that the user would just have to sit around for a while, without much visual feedback that anything was happening – let alone working correctly. So, I extended asr_wrapper to draw a loading animation on the iPhone’s screen, and some text explaining what was happening at each point. I knew that restored_external knew how to draw to the display, so I poked around looking for symbols that might be useful.
The answer wasn’t so surprising, and lay in everyone’s favorite attack surface: IOMobileFramebuffer. Symbols such as IOMobileFramebufferGetMainDisplay and IOMobileFramebufferGetLayerDefaultSurface make it straightforward to fetch an IOSurface that renders to the visible display. One problem, though, was that I wasn’t able to view my drawings while restored_external was running; it looked as though restored_external had ‘claimed’ responsibility for rendering to the display, and other applications would only be rendered to the display when restored_external relinquished its ownership of the display through termination✱. To get around this, I patched restored_external to skip its logic that claims the display.
✱ Note
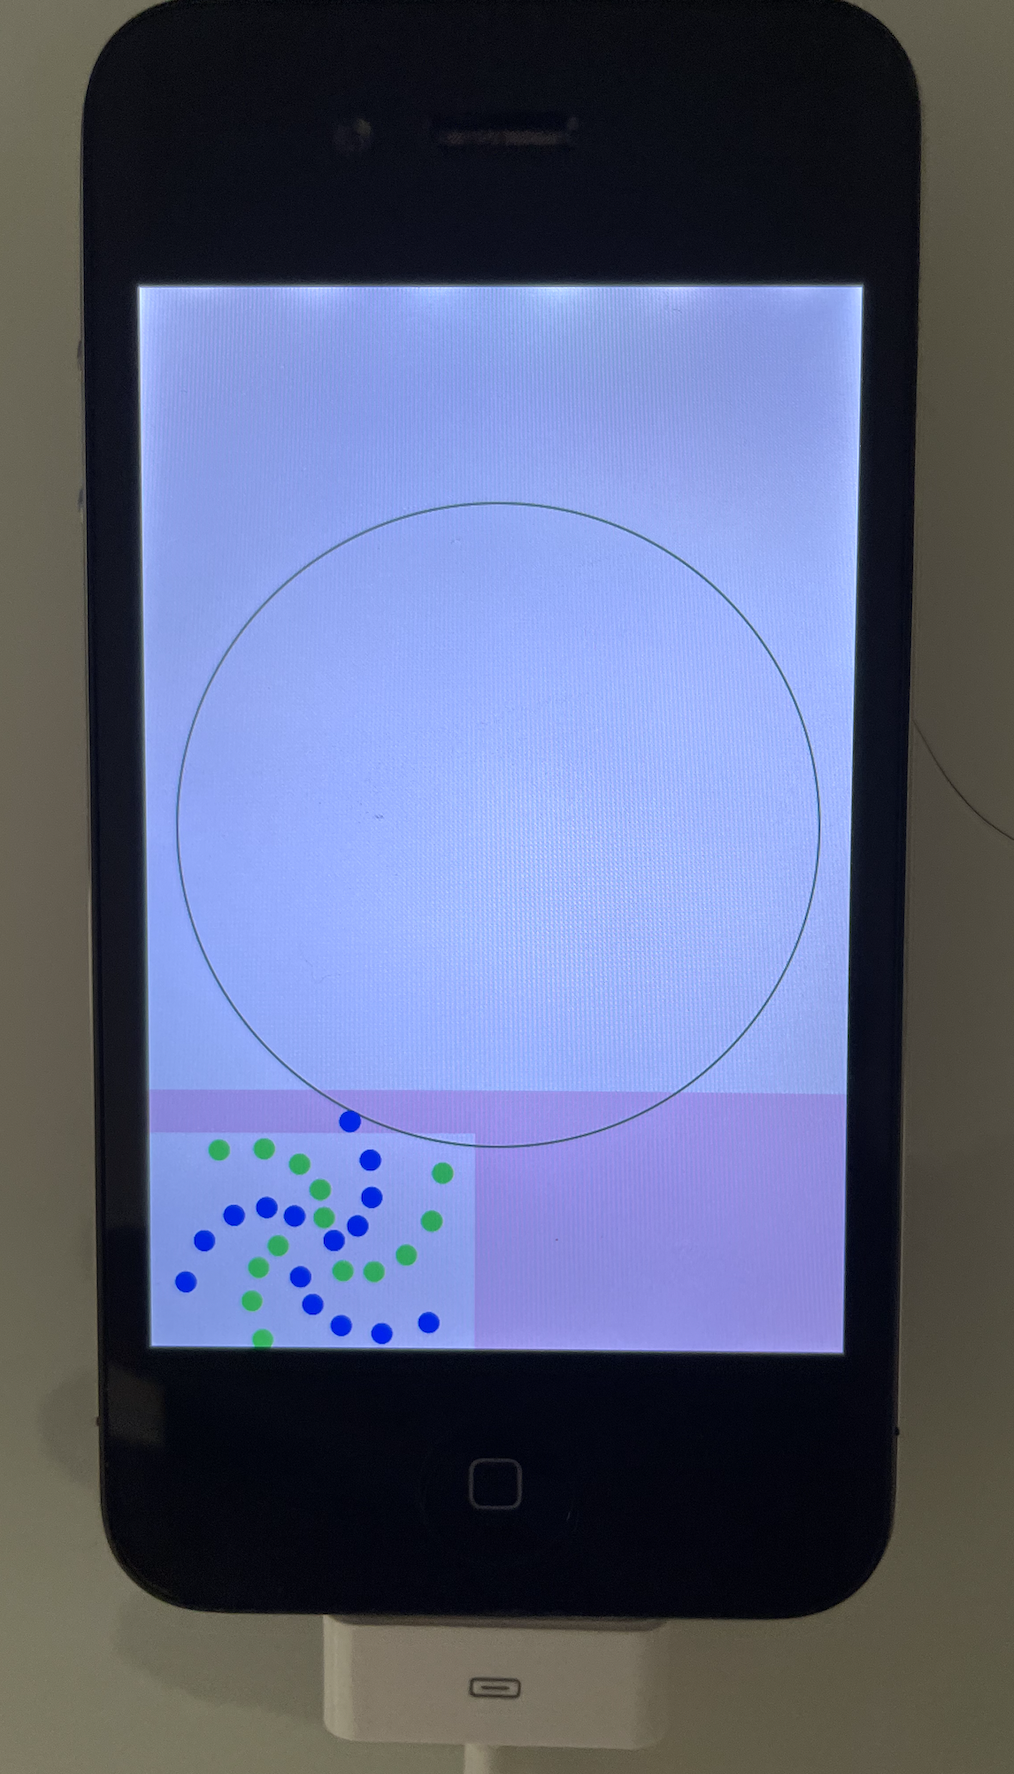
I made a wall-bounce simulator to keep the user entertained while the restore completes, and included some user-facing text so that they know what’s going on at each step.
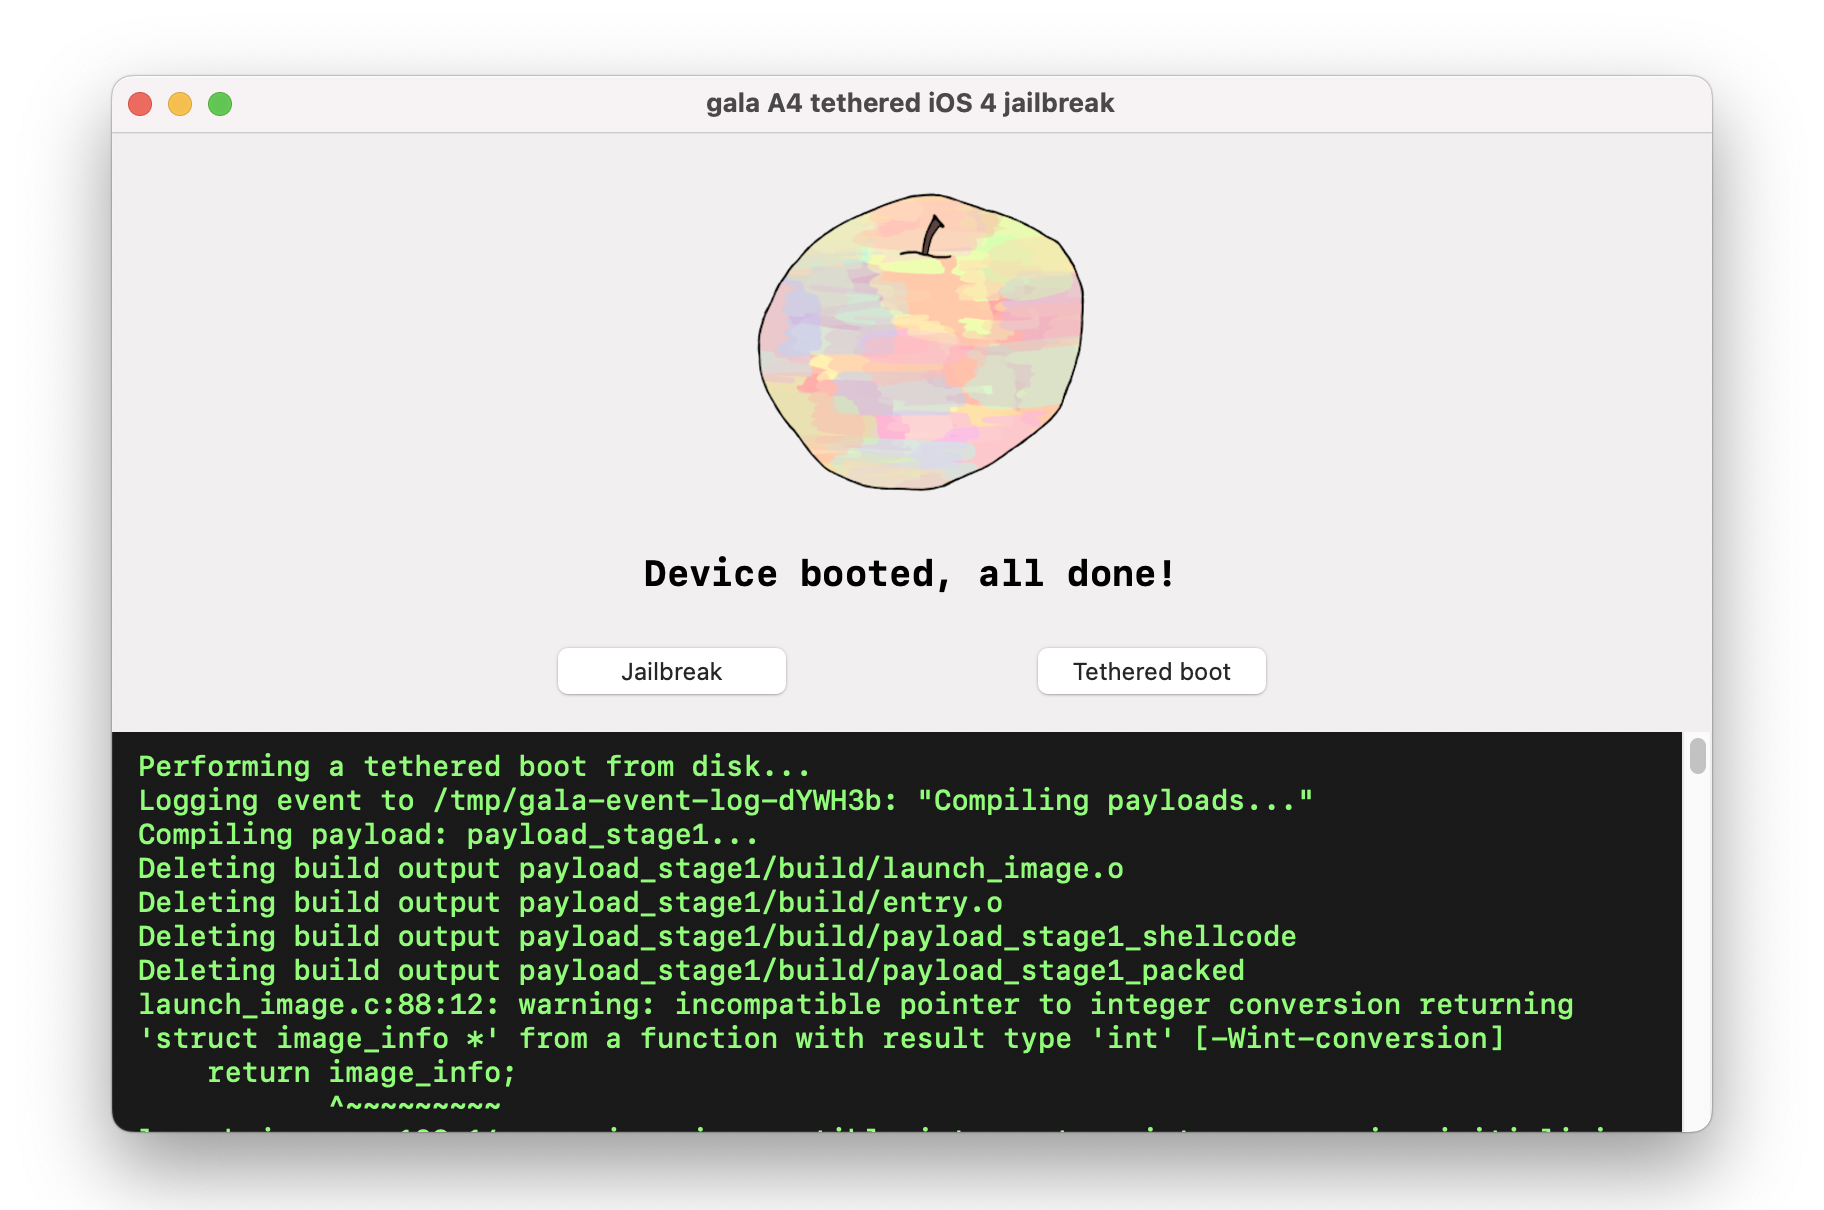
We’ve now fully automated the flow to restore the device’s filesystem!
Modifying the root filesystem image
Now that we’re able to restore to the default root filesystem image, let’s make sure that we can restore to a modified root filesystem image as well.
To my eye, two modifications seem immediately useful: ensure / is mounted as a writable filesystem, rather than read-only, and applying the same SSH tar to the system that we used for the Restore ramdisk.
gala/iPhone3_1_4_0_8A293_patches/root_filesystem.py
root_filesystem_patches = RamdiskPatchSet([
    RamdiskReplaceFileContentsPatch(
        file_path=Path("/private/etc/fstab"),
        new_content="""
/dev/disk0s1 / hfs rw 0 1
/dev/disk0s2s1 /private/var hfs rw,nosuid,nodev 0 2
    """.encode()
    ),
    RamdiskApplyTarPatch(
        tar_path=_RESOURCES / "ssh_additions.tar"
    ),
])
Thanks to these two patches, we can now remotely interact with, and modify, the iOS installation after the restore completes. Read more in Part 6: Post-boot Paradise.